Translate with BEYOND Translations
This section describes how to work with BEYOND Translations. The content of this section is divided into several subsections. To go directly to the subsection, hold down the CTRL key and click on the link with the left mouse button:
- Select File
- Update File
- Pretranslate File
- Filter Translations
- Sort Translations
- Filter for Words
- Translate with Focus Mode
Select File
This section describes how to select the translation file. For the following description we assume that you want to translate from English to German.
To select a translation file and load it into BEYOND Translations, proceed as follows:
- Open Azure DevOps in your favorite web browser.
- Click Repos in the menu on the left side of the screen.
- Click the repository under the path at the top of the screen to open the repository selection dropdown list.
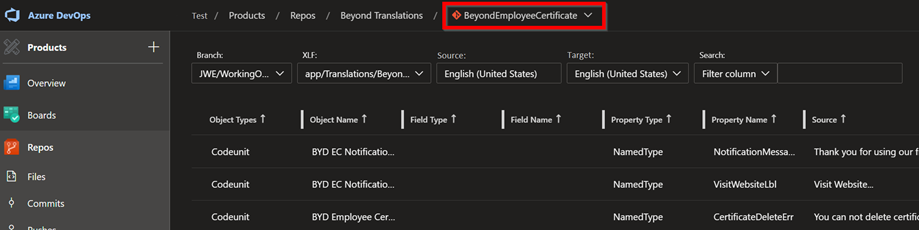
- Select the repository from the dropdown list for which you want to add translations.
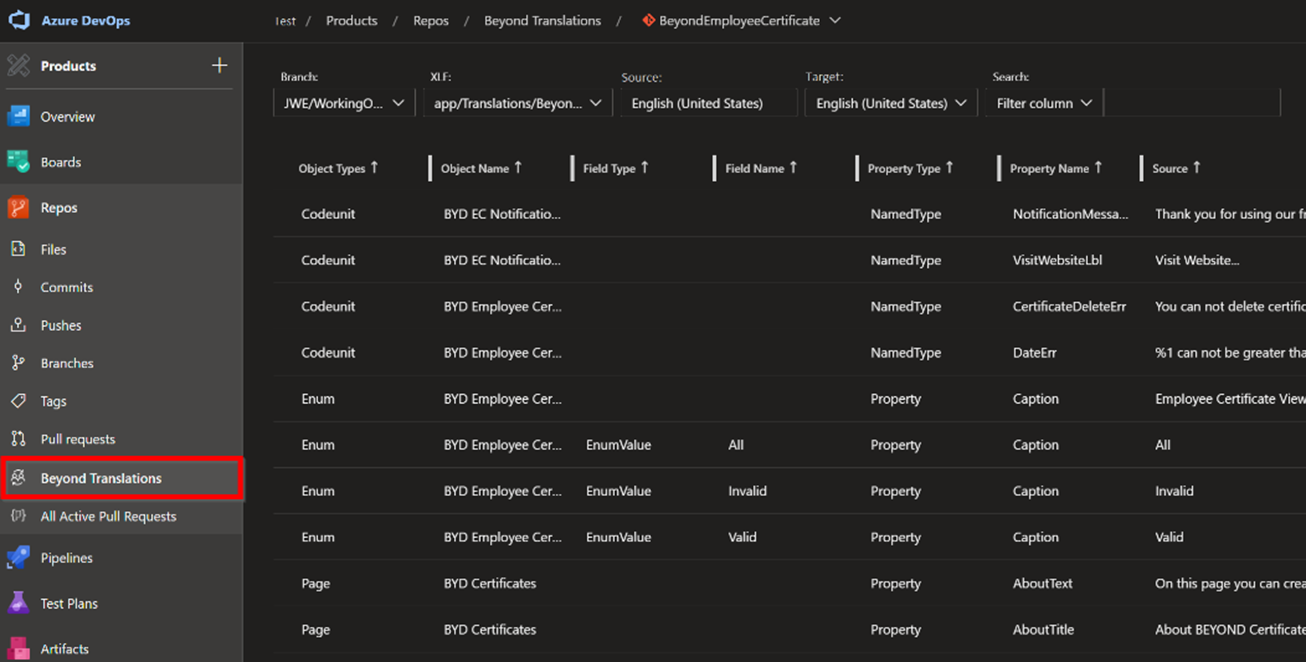
- Click Repos > Beyond Translations in the menu on the left side of the screen.
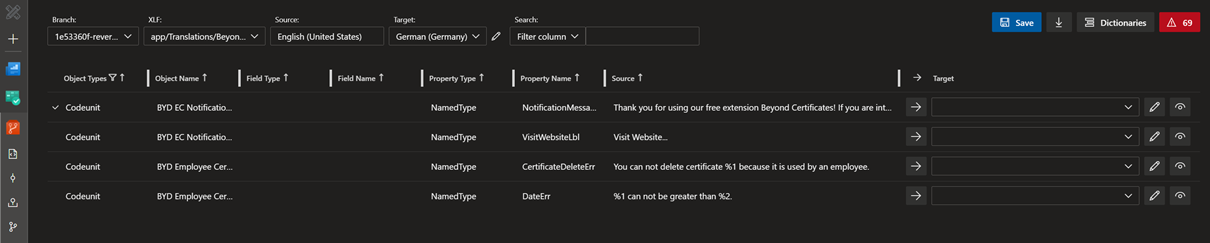
- Expand the Branch dropdown list:
All branches stored in Azure DevOps are displayed. For further description, we assume that the JWE/WorkingOnTranslations branch contains developments where fields need to be translated.
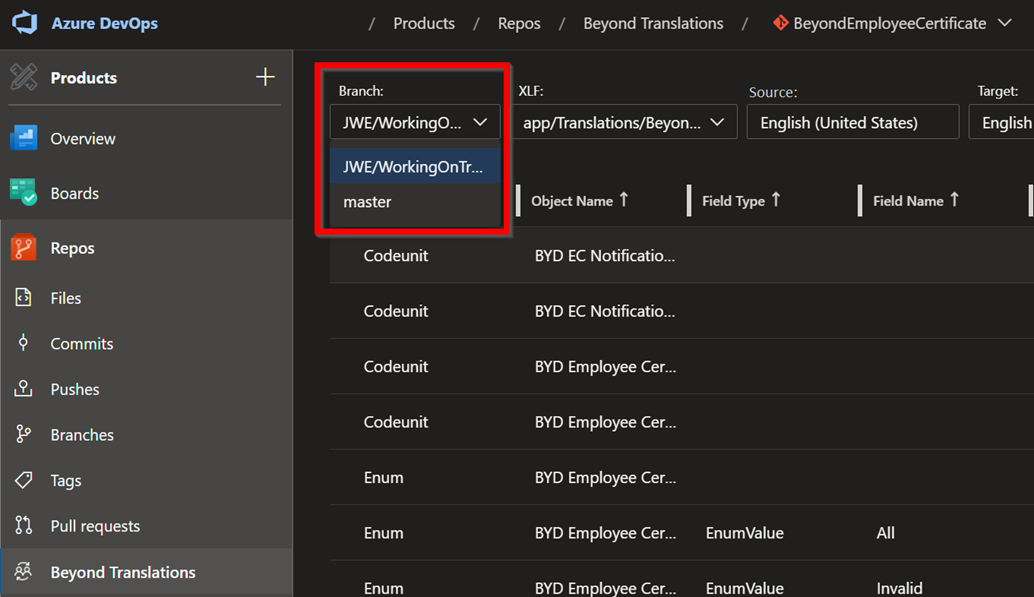
- Select the branch in which developments need to be translated.
- Expand the dropdown list of the XLF: field and select the global XLF file (file extension ...g.xlf).
- To select the file for translation into the target language, expand the Target dropdown list:
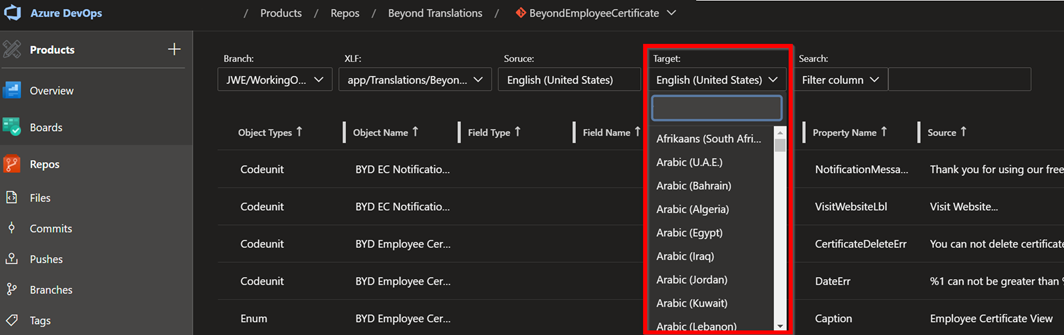
- To select a translation file for German, enter German (Germany) in the search field.
Note
No Translation File
If there is no translation file in the corresponding branch for this target language, it must be created first. Define the source and target languages and click the Save button in the interface. This creates the translation file and you can continue.

You have selected the translation file.
Tip
Your Dictionary
If you use a dictionary, all translations are saved. If the dictionaries are set correctly, they can also be used across repositories. So you don't need to retranslate already translated fields, captions, tooltips, enums, etc., but you can insert them into the newly created translation file with one click. For more information about this feature, see Pretranslate File.
Update File
If you want new captions, tooltips or labels to be translated, they have to be transferred from the global translation file (...g.xlf) to the target language translation file (here as an example ...de-DE.xlf). This is done via the Sync button.
To add new captions, tooltips or labels to be translated to the target language translation file, proceed as follows:
- In BEYOND Translations, select the translation file as described in the Select file section.
- Click the Sync button at the top right of the screen..
The target language translation file is updated by the system and the new lines to be translated are displayed on the interface. The view of the lines to be translated is also updated. You can now pre-translate the file or directly enter the desired translations in the corresponding lines.
Pretranslate File
This section describes how to pre-translate the target language XLF file with translations from your repository. This has the advantage that you can reuse translated elements from another translation projects or repositories. In addition, you avoid that fields or field values are translated inconsistently.
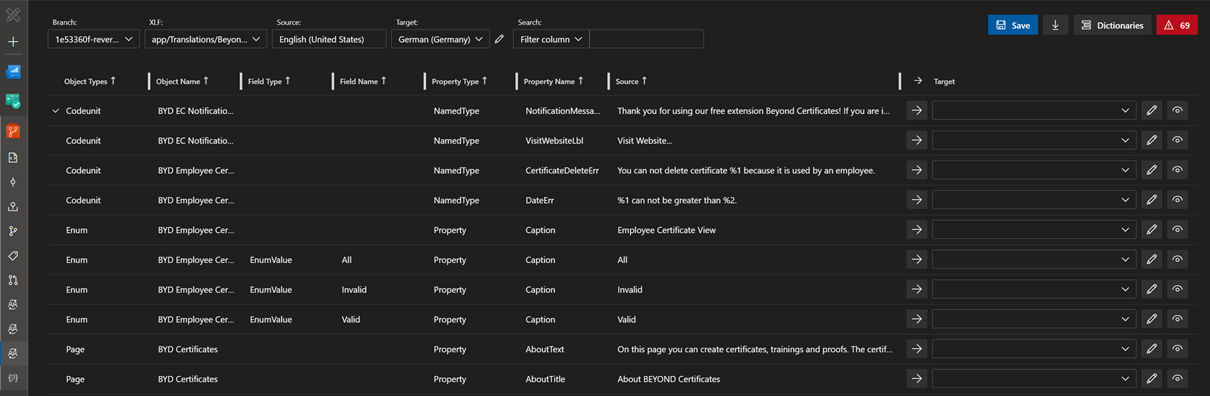
We assume that BEYOND Translations is already open in your browser and you have selected the repository and the correct branch.
You have checked the language direction under the Source: and Target: fields and set it accordingly.
To fill your XLF file with translations from the Dictionary, proceed as follows:
- Click the down arrow button in the upper right corner of the screen.
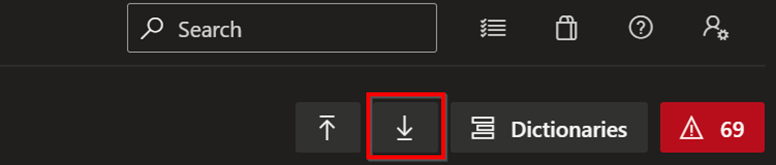
- The first level dictionary is searched for translation line proposals.
The translation suggestions are inserted automatically.
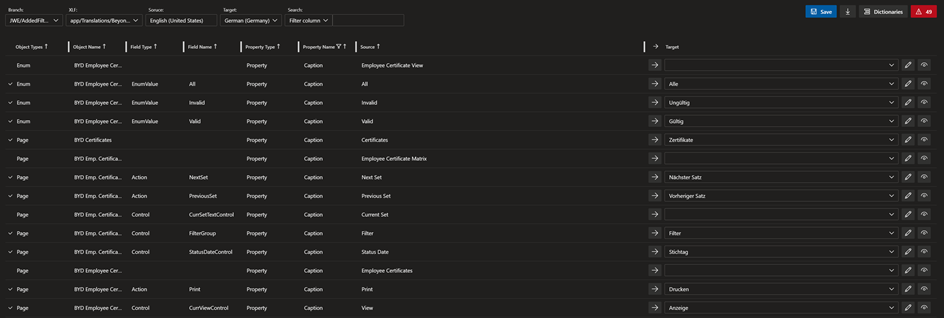
You have pre-translated your XLF file. Check marks at the left edge of the translation lines show you which translations have been inserted and not yet saved.
Filter Translations
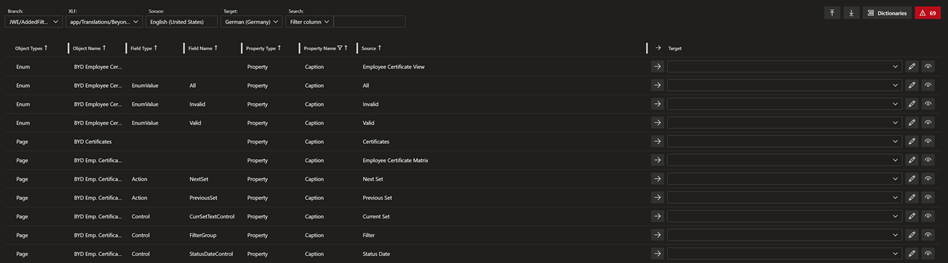
This section describes how you can filter the translations in BEYOND Translations. BEYOND Translations allows you to filter the translations lines for specific object types, objct names, field types, property types, property names and source texts.
To apply a filter on the displayed translation lines, proceed as follows:
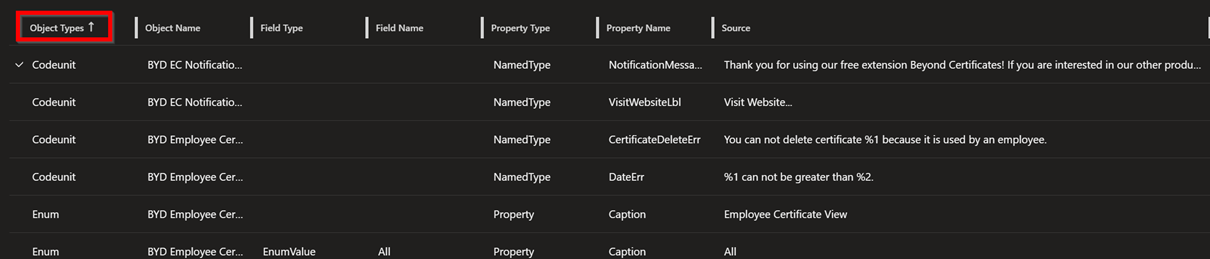
- On the BEYOND Translations interface, click on a value under the following columns.
- Click the Codeunit value in the Object Type column and the view is filtered to codeunits.
Note
Reset Filtered View
The filter icon (see Object Type column) indicates that a filter has been applied to the view. To remove the filter, you must click again on the filtered value. In our example, this is the Codeunit value.
You can apply the filter to any value in the translation file under the columns Object Type, Object Name, Field Type, Field Name, Property Type or a combination of them.
Besides this type of filtering, you can also filter the translation lines for specific words. You can find more information about this in the section Filter for Words.
Sort Translations
This section describes how to sort the translation line alphabetically in ascending or descending order. This can be helpful if, for example, you are translating tooltips that follow Microsoft specifications (for example, “Specifies …”). You can thus sort the view of the translation lines so that these tooltips are listed one below the other.
To sort the translation lines alphabetically in ascending or descending order, proceed as follows:
- Click on one of the following columns in the BEYOND Translations interface:
- Object Type
- Object Name
- Field Type
- Field Name
- Property Type
- The arrows to the right of the column labels indicate the sort order used. Click on the column labels to switch between the following sorts:
| Icon | Description |
|---|---|
| Arrow Up | An alphabetical ascending order is used. |
| Arrow Down | An alphabetical descending order is used. |
| No Icon | No sorting is used. The order of the translation lines is based on the source file. |
You can combine this sorting with filters. For more information about the filters you can use, see the Filter translations section.
In addition to this, you can also restrict the displayed translation lines to lines that contain certain words. For more information, see the Filter for Words section.
Filter for Words
This section describes how to search for a specific source or target text. You do not have to manually scroll and search through the entire text or go through the occurrences of a particular word line by line (using the web browser's built-in search function) instead you can filter the view of the translation lines to words or phrases. This way you can ensure a consistent translation of a word across the entire translation file.
To restrict the view of the translation lines to a specific word or string, proceed as follows:
- In the BEYOND Translations interface, expand the dropdown list for Search:.
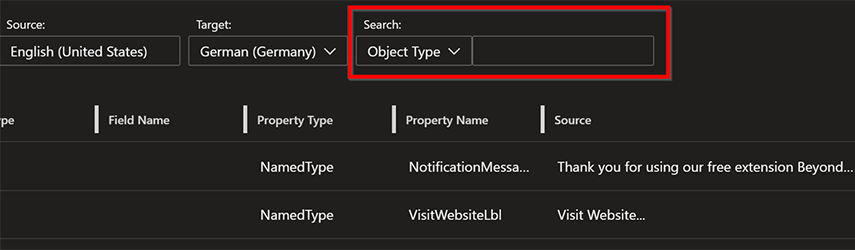
- Select one of the options from the dropdown list as the filter criterion.
- In the text box after the option, type the string or word you want to filter for.
- The view is updated automatically. You can also combine multiple filter criteria into one filter. When you apply a filter, the corresponding column is marked with a filter icon, indicating that a filter is active.
To delete the filtered view, you must delete the values from the text field under Search:. Note that a filter can consist of several criteria and therefore, if you have a second filter criterion, you must also delete the value from the text field.
Translate with Focus Mode
This section describes how to translate using the focus mode. Focus mode allows you to concentrate on individual translations and the rest of the interface is hidden.
For the description we assume the following:
You have opened the BEYOND Translations interface and made the appropriate settings under the Branch:, XLF:, Source: and Target: fields.
To use the focus mode, proceed as follows:
- Click on the eye icon in BEYOND Translations.

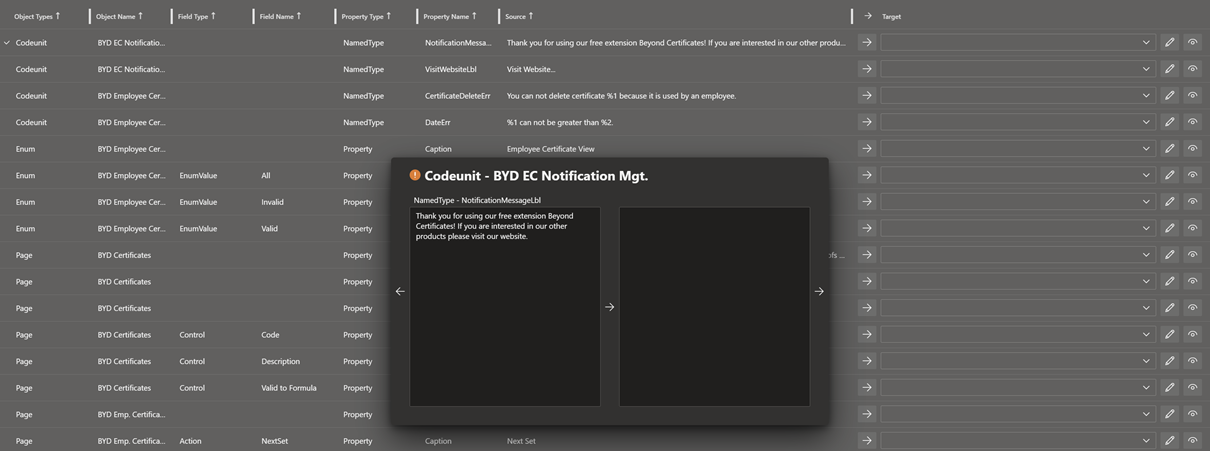
- The focus mode window is displayed.
The background will be slightly grayed out so that you can concentrate on the translation.
- Translate the file.
The buttons and functions in focus mode are described below:
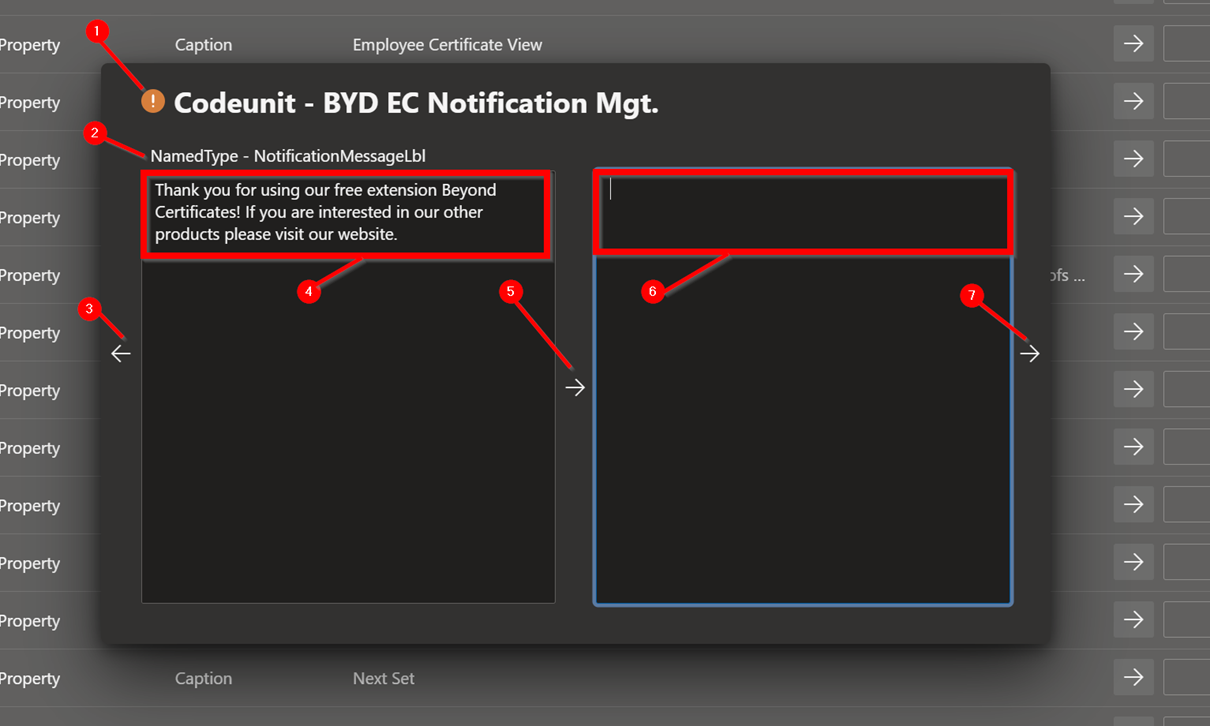
| Number | Name | Description |
|---|---|---|
| 1 | Objekt Type and Objekt Name | The Object Type and the Object Name are displayed here. |
| 2 | Property Type and Property Name | The Property Type and Property Name are displayed here. |
| 3 | Previous Translation Line | To return to the previous translation line, click the arrow button on the left edge of the focus mode window. |
| 4 | Source Text | This text field displays the source text (the text to be translated). The source text is not editable. |
| 5 | Copy Source Text to Target Text | Click the arrow button in the center of the focus mode window to copy the source text (4) to the target text window (6). |
| 6 | Target Text | In this input field you enter the translation for the source text (4). |
| 7 | Next Translation Line | To jump to the next translation line, click the arrow button on the right edge of the focus mode window. |