Record Signature on Posted Purchase Receipt
This chapter describes how you can record a signature on a posted purchase receipt.
To record a signature on a posted purchase receipt, proceed as follows:
- Open the search function from the role center (ALT+Q).
- Search for Posted Purchase Receipts and click on the corresponding search result.
- The Posted Purchase Receipts list is displayed. On this page, you will find all posted purchase receipts.
- Select the relevant document from the list for which you want to capture a signature.
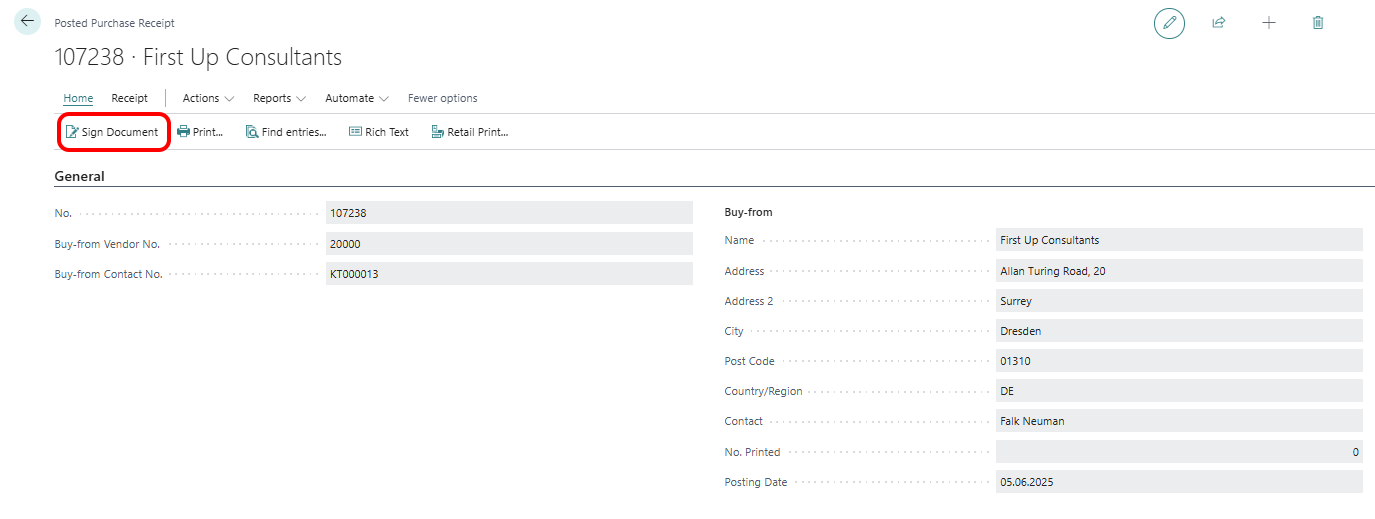
- Select the Sign Document menu option from the menu bar.
- A dialog box is displayed asking if you want to sign the document.
- Select the Yes button.
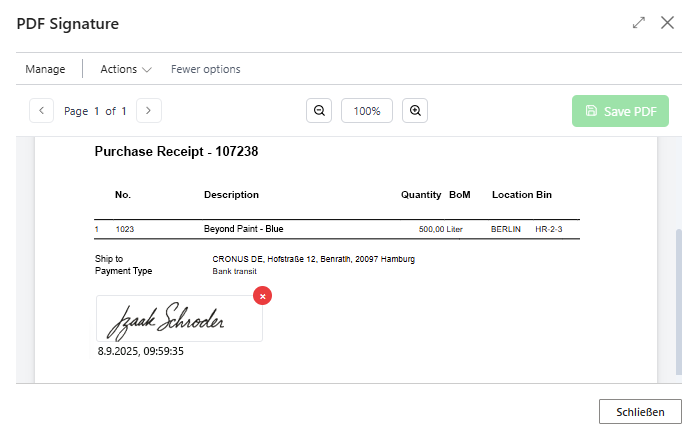
- The PDF Signature window is displayed.
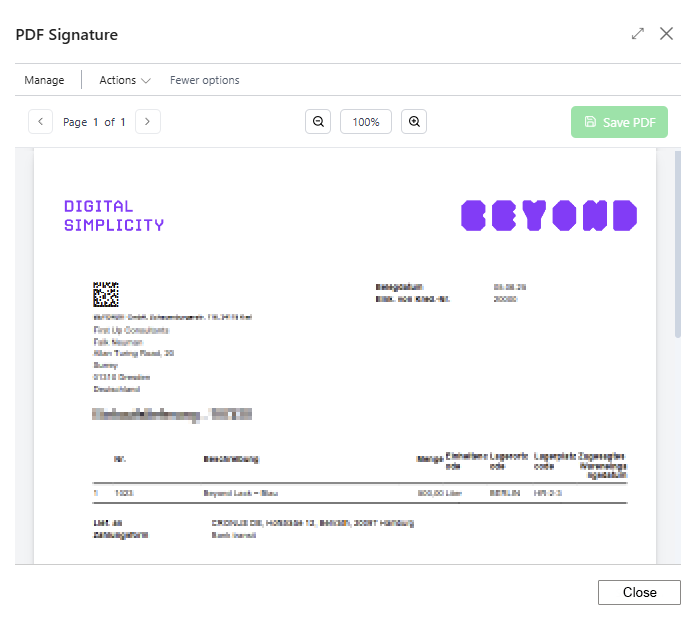
- Move the mouse pointer into the document preview.
- An area is displayed at the location of the mouse pointer.
- Click the left mouse button to place the signature area.
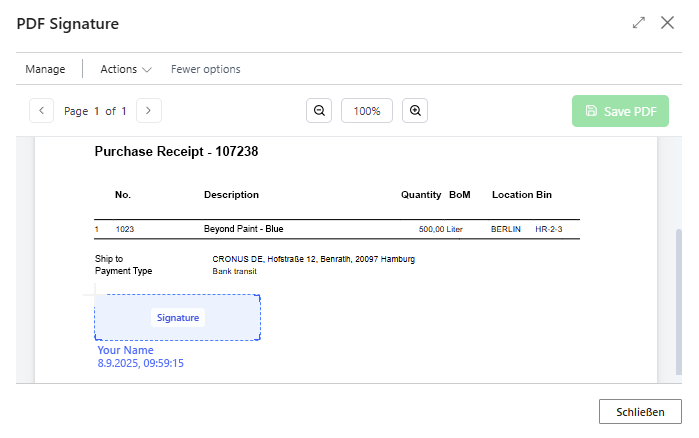
- A new screen is displayed in the PDF Signature window.
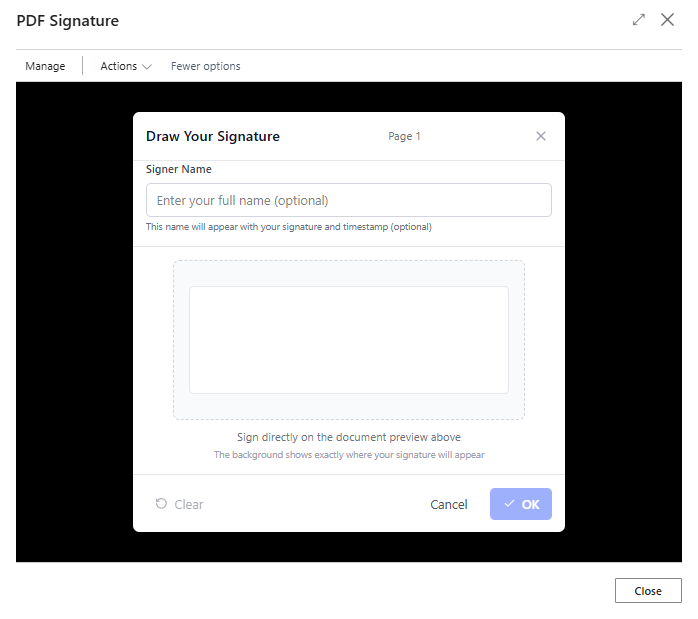
- In the Signer Name input field, enter the name of the person signing the document.
- There is a drawing area in the middle of the window. The digital signature is recorded in this drawing area.
- To save the signed signature, click OK.
- The signature is inserted into the document. You can scale the signature step by step by clicking on the plus or minus button. To delete the recorded signature, click on the red cross in the signature area.
- To record additional signatures, repeat the previous steps.
- To save the purchase receipt with a signature, click on the menu option Save PDF.
The purchase receipt has been saved. You can find the signed version in the info box area (ALT+F2). The file name for the signed version of the purchase receipt is extended with “_Signed”.
Note
Signatures for other documents
The Beyond PDF Signature app also allows you to record signatures for PDF files that are attached to other documents. Instructions on how to do this can be found in the chapter Record Signature for Attached File.