Setup Field Value for Default Dimension
This chapter describes how you can use Beyond Dimensions to assign a value of a field from a table to a standard dimension that has already been set up. Further information on dimensions can be found in the Microsoft standard help under the chapter Work with dimensions.
The procedure is described using an example. For the following description, we assume that you want to set the system to maintain the following dimensions when creating a new data record for a customer (in addition to global dimensions and shortcut dimensions):
- Customer Posting Group
- Salesperson Code
To assign the individual field value of the Customer Posting Group field and the Salesperson Code field from the Debitor page as the dimension value of a dimension, proceed as follows:
- Open the search field (ALT+Q) and search for the page Dimensions.
- The Dimensions page is displayed.
- Click on the Field Default Dimensions option in the menu bar.
- The Field Default Dimensions page is displayed.
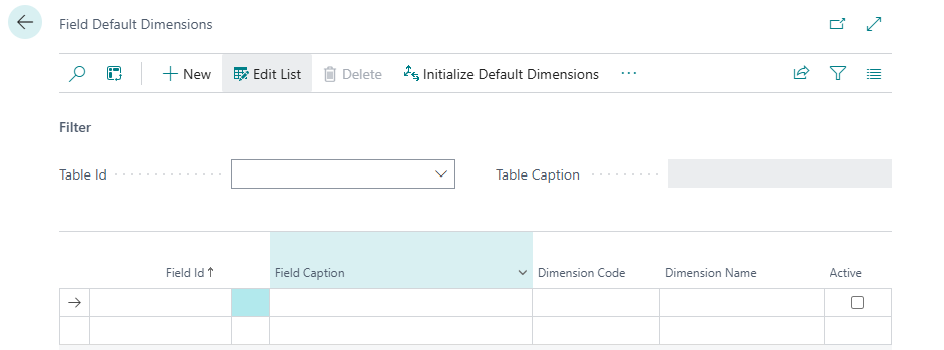
- Open the dropdown list for the Table ID field.
- Select the table in which you want to set up a field value as a dimension. In our example, we want to define the corresponding settings for a customer, so we select the value 18 Customer in the Table ID field.
- The value in the Table Caption field is updated by the system.
- Click on the ellipsis button in the list area of the page under the Field ID column.
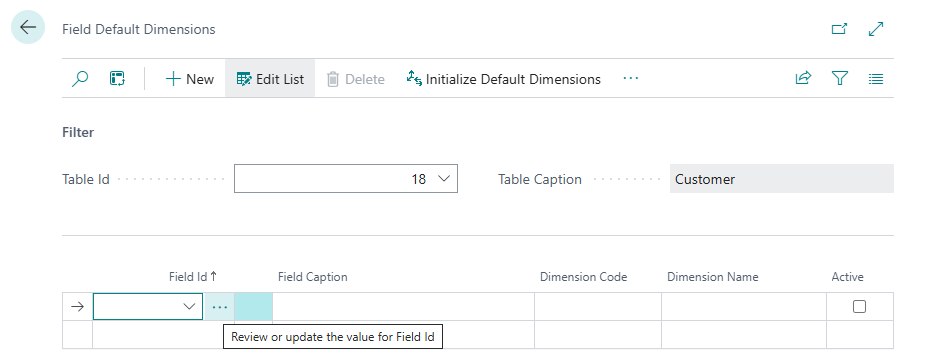
- The available fields are displayed. Please note that only the fields that exist in the specified table (in the Table ID field) are displayed.
- Select a field whose field value you want to use as the dimension value. In our application example, we select the field 21 (Customer Posting Group).
- The Field Caption column is updated with the name of the field.
- Under the Dimension Code column, select the dimension for which you want to add the field value of the selected field as the dimension value. In our example, there is a dimension with the name Customer Posting Group. This dimension already has dimension values. Field values that are not yet added as dimension values must be initialized subsequently. You can find more information on this in the chapter Initialize Default Dimensions.
- Activate the checkbox under the Active column. You have added the Customer Posting Group field and the flexible field value on the customer card to the Customer Posting Group dimension as a dimension value.
- To use the field value of the Salesperson Code field on the customer card as the dimension value for a dimension, select the 18 Customer table in the Table ID field on the Field Default Dimensions page.
- The value in the Table Caption field is updated by the system.
- Click on the ellipsis in the list area of the page under the Field ID column.
- Select the value 29 (Salesperson Code).
- The Field Caption column is updated with the name of the field.
- Under the Dimension Code column, select the dimension for which you want to use the field value of the selected field as the dimension value. In our example, there is a dimension with the name Salesperson Code. This dimension already has dimension values. Field values that are to be used as dimension values must be initialized subsequently. You can find more information on this in the chapter Initialize Default Dimensions.
- Activate the checkbox under the Active column. You have added the Salesperson Code field and the flexible field value on the customer card to the Salesperson Code dimension as a dimension value.