Work with Notes
This chapter describes how to work with notes in Beyond Scheduler. The contents of this chapter are divided into the following sections:
- Create Note
- Copy & Paste Note
- Edit Note Time
- Assign Note to another Resource
- Delete Note from Planning Board
- Convert Note to Service Order
Create Note
This section describes how to create a note.
To create a note, proceed as follows:
- Open the search field (ALT+Q) and search for the page Service Scheduler.
- The Service Scheduler page is displayed.
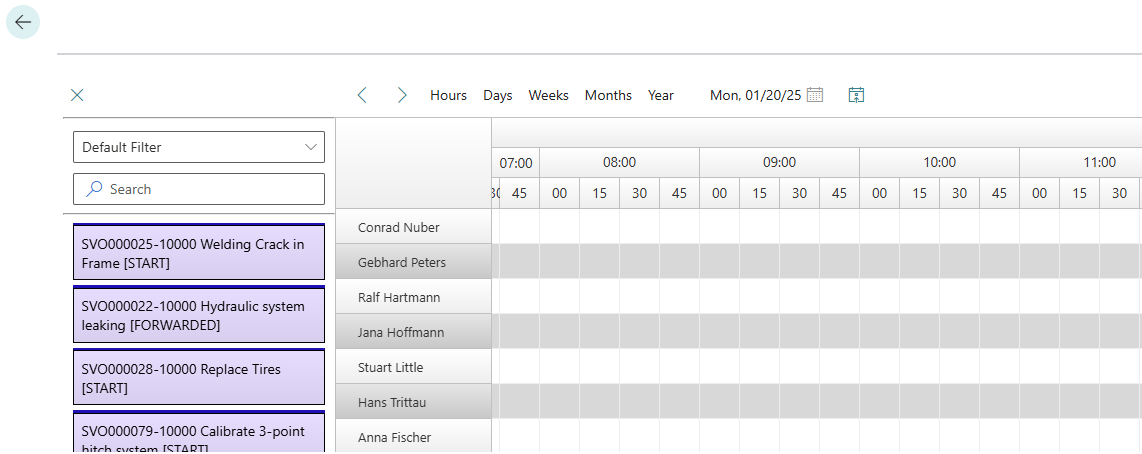
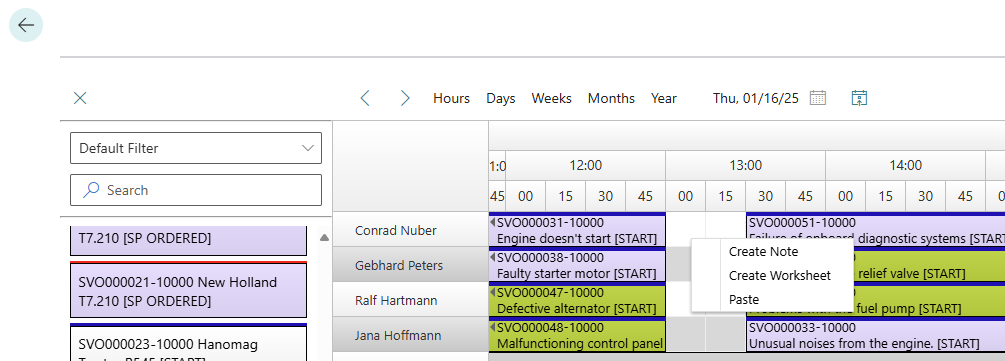
- Right-click in the planning board.
- A context menu is displayed.
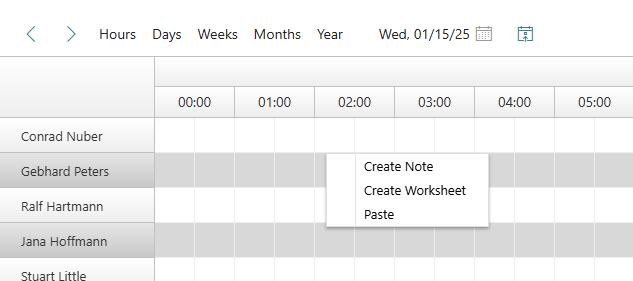
- Select the Create Note option from the context menu.
- A dialog window is displayed.
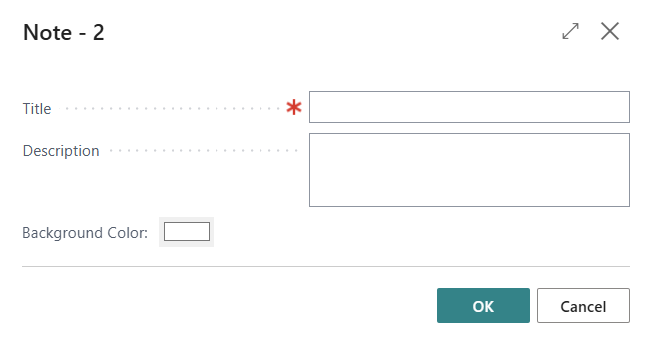
- Enter a title. The title is displayed on the planning board.
- Enter a description in the input field.
- In the Background Color field, you can select a color value
to define the background color for the note tile in the planning board.
Click in the color field.
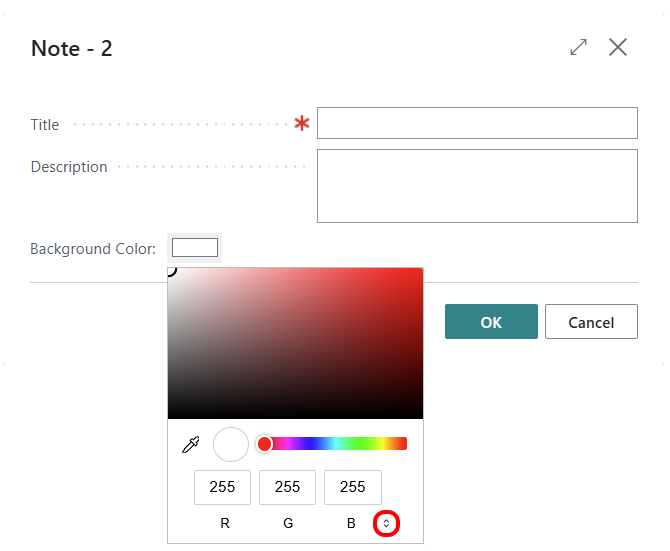
- The color picker is displayed. Select a color value. Use the drop-down list at the bottom to switch between the common color systems RGB, HSL, and Hex. Here are some hex color values:
#FF0000
#FF8000
#FFFF00
#40FF00
#1DFD70
#0404B4
#B404AE
You have created a note. You can convert notes into a service order. For more information, see the section Convert Note to Service Order.
Copy & Paste Note
This section describes how to copy a note.
To copy a note, proceed as follows:
- Open the search field (ALT+Q) and search for the page Service Scheduler.
- The Service Scheduler page is displayed.
- In the planning board, right-click on the note you want to copy.
- A context menu is displayed.
 - To copy the selected note to the clipboard, select the Copy option from the context menu.
- Right-click on an unplanned period in the planning board to open the context menu.
- Select the Paste option from the context menu.
- The note copied in the clipboard is pasted into the planning board.
You have copied a note. You can move the note on the planning board using drag and drop (left-click and drag).
Edit Note Time
This section describes how you can edit the time period of a note in the planning board.
To edit the time period of a note in the planning board, proceed as follows:
- Open the search field (ALT+Q) and search for the page Service Scheduler.
- The Service Scheduler page is displayed.
- In the planning board, move the mouse pointer to the left or right edge of the note.
- The mouse cursor for horizontal resizing (
 ) is displayed.
 - Click with the left mouse button and keep it pressed. Move the mouse cursor to the corresponding new time in the planning board and release the left mouse button.
You have changed the time period for a note. This function can also be used for service orders in the planning board.
Assign Note to another Resource
This section describes how you can assign a note to another resource.
To assign a note to another resource, proceed as follows:
- Open the search field (ALT+Q) and search for the page Service Scheduler.
- The Service Scheduler page is displayed.
- Move the mouse cursor over the note in the planning board that you want to assign to another resource.
- Click on the note with the left mouse button and keep the mouse button pressed.
- Drag the note to another resource line.
You have assigned the note to another resource.
Delete Note from Planning Board
This section describes how to remove a note from the planning table. Please note that you must remove the note completely; this cannot be undone.
To remove a note from the planning table, proceed as follows:
- Open the search field (ALT+Q) and search for the page Service Scheduler.
- The Service Scheduler page is displayed.
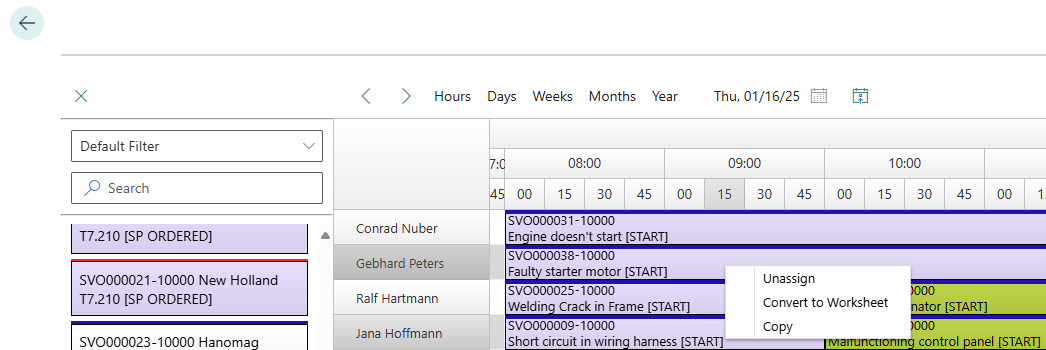
- In the planning board, right-click on the note you want to remove.
- A context menu is displayed.
 - To delete the selected note, select the Unassign option from the context menu.
The note is removed from the planning board and deleted.
Convert Note to Service Order
This section describes how to convert a note into a worksheet. The following description assumes that both the customer and the service item of the corresponding customer are already saved in the system.
When a note is converted into a service order, the description of the note is transferred to the service order line as a description. The description can be changed either before the conversion or later in the converted service order.
To convert a note into a service order with a worksheet, proceed as follows:
- Open the search field (ALT+Q) and search for the page Service Scheduler.
- The Service Scheduler page is displayed.
- In the planning board, right-click on the note that you want to convert into a worksheet.
- A context menu is displayed.
 - To convert the selected note into a worksheet, select the option Convert to Worksheet from the context menu.
- The Worksheet Wizard dialog box is displayed.
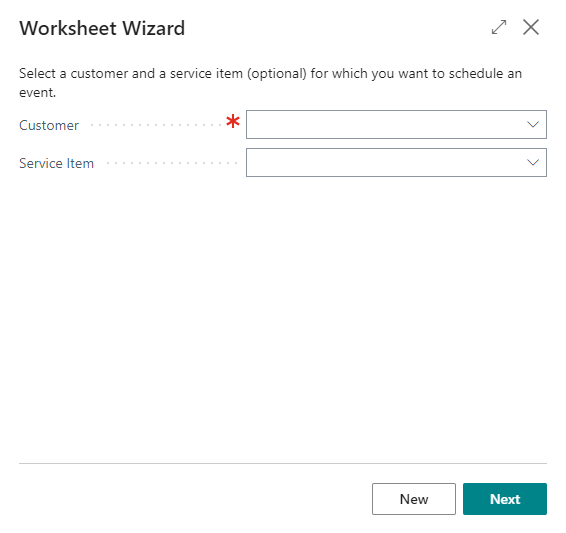
- Select a customer for the worksheet from the Customer drop-down list.
- To create a new service order for a service item, enter the service item of the corresponding customer using the Service Item drop-down list and click New in the wizard.
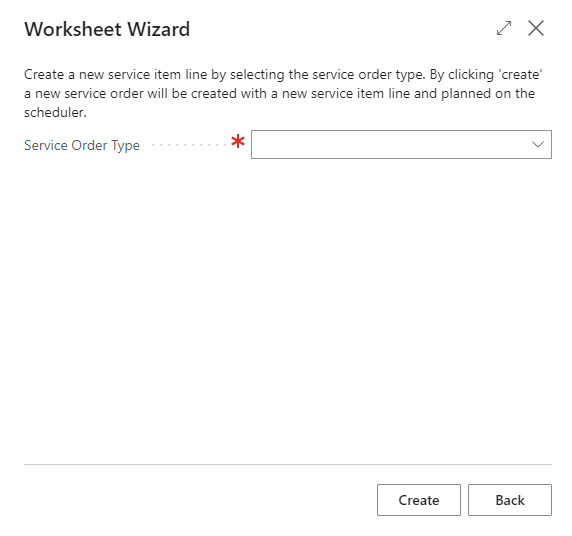
- Use the Service Order Type drop-down list to select a service order type for the service order to be created.
- Click on Create to create the service order.
You have converted a note into a service order.