Transfer Journal Batch
This chapter explains the functions of Beyond InventoryApp in relation to the Transfer Journal Batch in Business Central.
Note
Please note that a corresponding document must always be available in the system in order to use Beyond InventoryApp. Only an existing transfer journal batch can be selected via the app's user interface. It is not possible to create a transfer journal batch via Beyond InventoryApp. If you do not have a transfer journal batch, you must create it in the standard Business Central app.
Change Bin for Items
This section describes how you can use Beyond InventoryApp to change the storage bin of an item in your warehouse to another storage bin within the same warehouse.
- Open the search field (ALT+Q) and search for the page Inventory App.
- The Inventory App page is displayed.
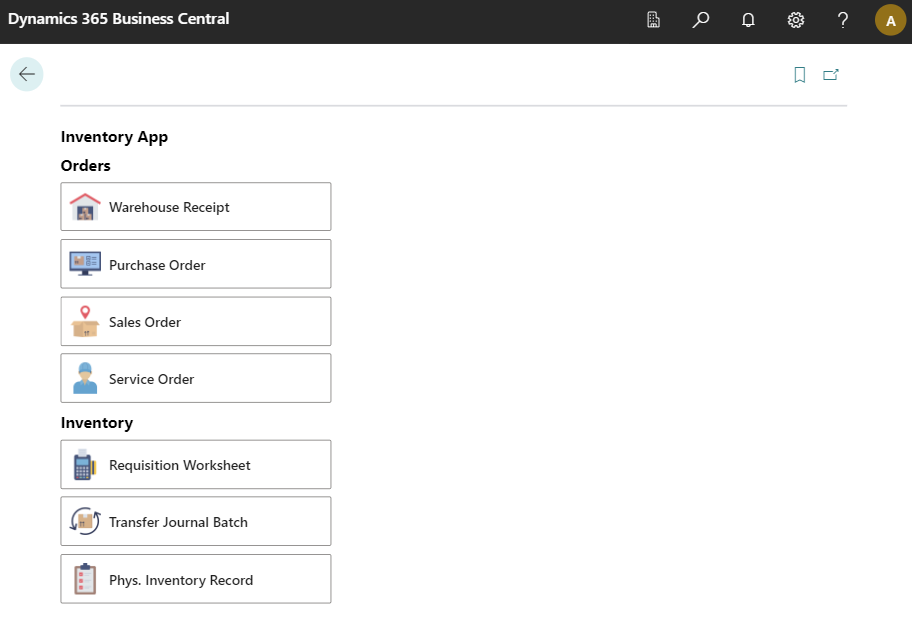
- Select Transfer Journal Batch.
- The document selection is displayed.
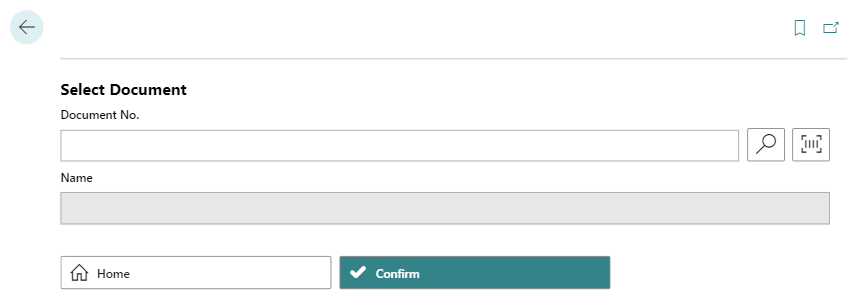
- Select a document:
- Use the scanner function
 with your mobile device and scan the barcode of the transfer journal batch page.
or - Select the magnifying glass icon
 to select the transfer journal batch from the overview of all item journal batches.
After selecting the document, additional information is displayed in the fields.
- Use the scanner function
- Select the Confirm
 icon.
icon. - The transfer journal batch card is displayed.
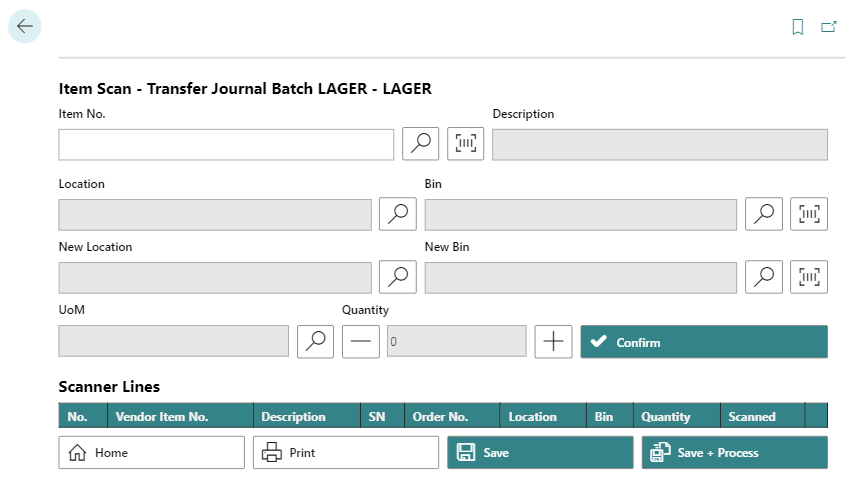
- To select an item, enter the item number in the Item No. field:
- Use the scanner function with your mobile device and scan the item barcode.
or - Select the magnifying glass icon to select an item from the overview of all items.
- Use the scanner function
- Select the storage location in the Location field.
- In the Bin field, select the bin of the item where it is currently stored.
- Use the scanner function with your mobile device and scan the storage bin barcode.
or - Select the magnifying glass icon to manually select a storage bin from the overview of all storage bins.
- Use the scanner function
- Select the new storage location for the item in the New Location field.
- In the New Bin field, select the bin of the item where it will be stored in future.
- Use the scanner function with your mobile device and scan the storage bin barcode.
or - Select the magnifying glass icon to manually select a storage bin from the overview of all storage bins.
- Use the scanner function
- You can increase or decrease the number of items using the plus and minus buttons under Quantity.
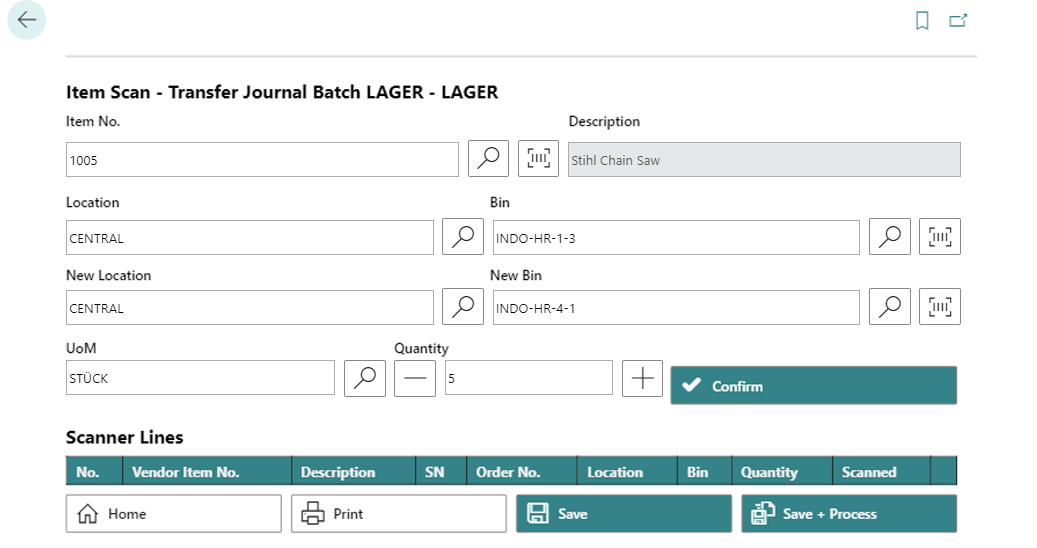
- To add the item in the specified quantity to the lines, select the Confirm button.
- The item line is added.
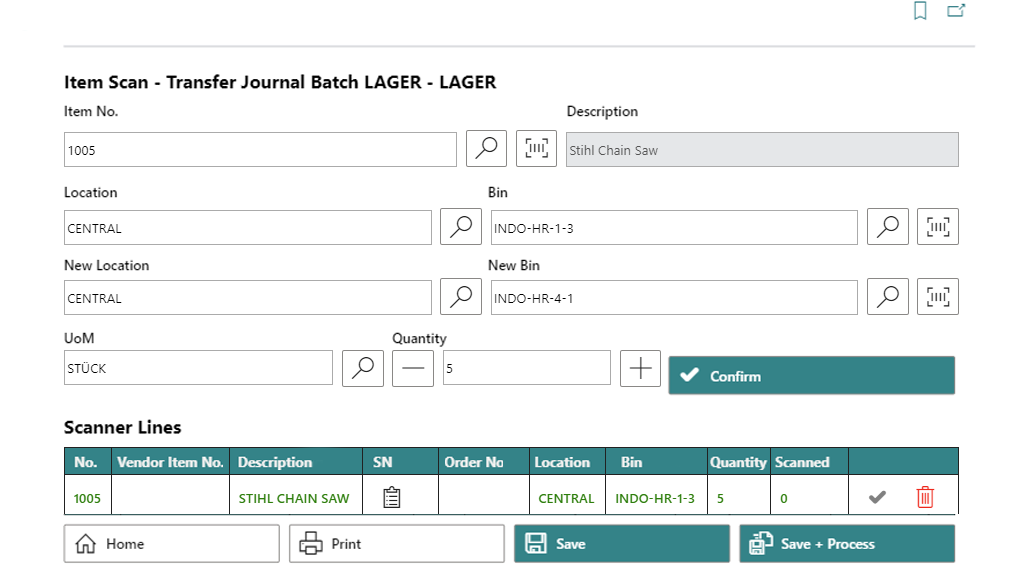
- If you want to transfer an item that requires a serial number, you must enter the serial numbers of the items. Select the symbol under the SN column and enter the serial numbers.
- To save only the changes to the document, select Save. If you also want to post the document, select Save + Process.
You have moved an item.