Define and initialize shortcut dimensions for master data
This chapter describes how to define and initialize shortcut dimensions for master data. The contents of this chapter are divided into the following sections:
Define Shortcutdimensions
This section describes how to define the shortcut dimensions that you want to use for the master data.
Warning
Changing dimensions and their values
By changing existing shortcut dimensions in the system, dimension values of data can be lost. The following description explains how to define one or more shortcut dimensions. If shortcut dimensions are already stored in the system, clarify whether the shortcut dimensions may be changed before changing them.
Important
Duplication of columns in lists
Beyond Dimensions extends the lists of master data with the shortcut dimensions used. The label of the fields is used as the label of the shortcut dimension. If you set up a field as a shortcut dimension that already exists as a field in the corresponding master data and is displayyed in the list, two columns with the same label will be displayed.
Note
Display of shortcut dimensions in lists and cards
Please note that the corresponding columns and fields for shortcut dimensions are only displayed on the extended lists and cards if a corresponding field has been defined on the General Ledger Setup page. For example, if no field is referenced under the Shortcut Dimension Code 8 field, this field is not displayed as a shortcut dimension in the lists. The corresponding shortcut dimension is not displayed in the Dimensions tab in the corresponding master data cards.
To define the shortcut dimensions, proceed as follows:
- Open the search field (ALT+Q) and search for the page General Ledger Setup.
- The page General Ledger Setup is displayed.

- In the fields Shortcutdimension 3 to Shortcutdimension 8, enter fields whose values you want to manage as a dimension for master data.
Note
Initialize shortcut dimensions
After defining the shortcut dimensions, no dimension values can yet be selected. To transfer the field values of the fields set up as shortcut dimensions as dimension values, you must plan and execute the BYD DM InitShortCutDimensions task. For more information on how to plan the task, see the section Initialize shortcut dimensions.
You have defined one or more shortcut dimensions. For more information on dimensions, see the standard help for Business Central under Working with dimensions.
Initialize Shortcutdimensions
This section describes how to perform a task to initialize the shortcut dimensions. In this task, all values stored in the system for the fields that you have defined as shortcut dimensions are transferred as possible dimension values.
Caution
Planning the task outside of business hours
Depending on the number of shortcut dimensions used and the number of data records and field values in your system, the execution of the BYD DM InitShortCutDimensions task can tie up system resources. This may have an impact on the system. We recommend scheduling the task outside your company's business hours.
To plan and execute the BYD DM InitShortCutDimensions task for initializing the shortcut dimensions, proceed as follows:
- Open the search field (ALT+Q) and search for the page Job Queue Entries.
- The Job Queue Entries page is displayed.

- Under the Status column for the BYD DM InitShortCutDimensions task, click on the Ready value displayed.
- The card for the task queue item is opened.
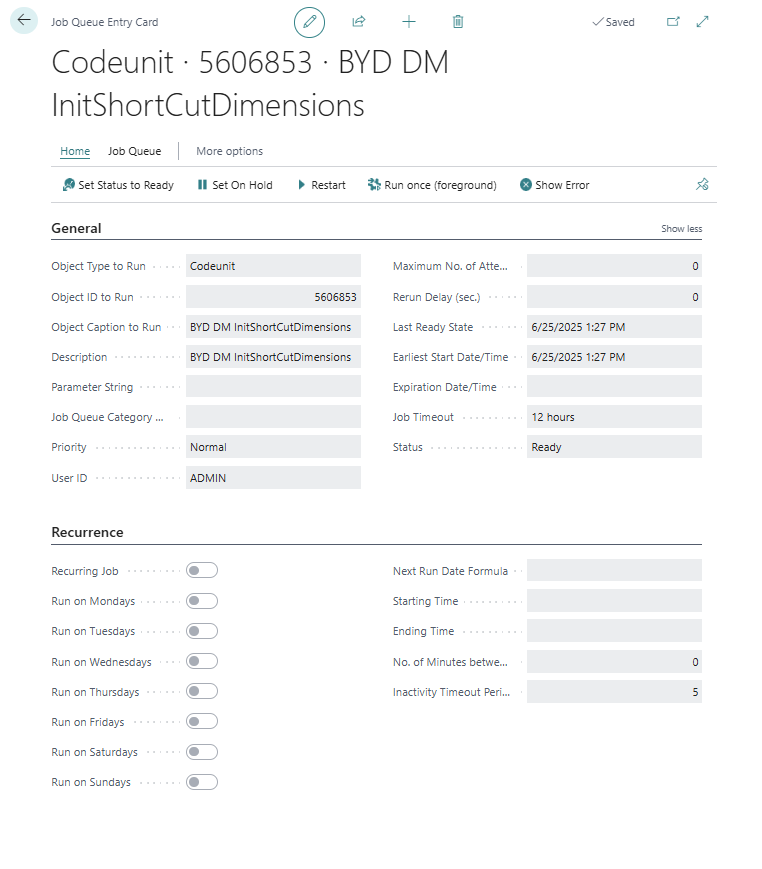
- Click on the Home > Set On Hold option in the menu bar.
- The fields for planning the task can be edited.
- Click on the ellipsis […] next to the Earliest Start Date/Time field.
- The Date-Time Dialog is displayed.
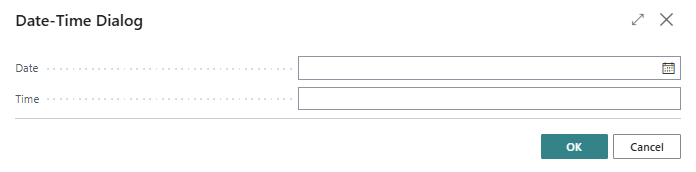
- Enter the date on which you want the task to be executed.
- Enter the time at which you want the task to be executed.
- Confirm the entry with the OK button.
- Click on the Start > Set Status to Ready option in the menu bar.
- The status of the task is changed to Ready.
You have planned the task. After executing the task, Beyond Dimensions allows you to maintain the shortcut dimensions for the master data quickly and easily via the corresponding cards under the Dimensions tab. The values are also displayed in the lists for the master data.