Setup Department
This chapter describes how to create a department in Beyond Cues. The departments are display groups to which you can assign users. You can assign your created cues to a department (display group) in order to control which cues are displayed to which users.
The contents of this chapter are divided into the following sections:
- Create Department
- Add User to Department
- Assign Department to a Cue
- Export Department
- Import Department
- Copy Department
Create Department
This section describes how to create a department.
To create a department, proceed as follows:
- Open the search field (ALT+Q) and search for the page Beyond Cues.
- The Beyond Cues page is displayed.
- Select the Departments option in the menu bar.
- The Departments page is displayed.

- To create a new department, click on the New option.
- Enter a code for the department under the Code column.
- Enter a name for the department under the Name column.
You have created a department.
Add User to Department
This section describes how to add a user to a department.
To add a user to a department, proceed as follows:
- Open the search field (ALT+Q) and search for the page Beyond Cues.
- The Beyond Cues page is displayed.
- Select the Departments option in the menu bar.
- The Departments page is displayed.
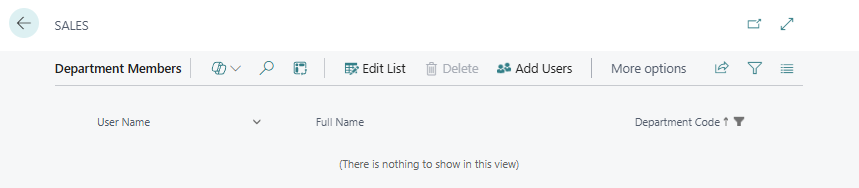
- Click on the Members option in the menu bar.
- Click on the Add Users option in the menu bar. If this option is not displayed, you must expand the displayed options in the menu bar using the ellipsis button (…).
- The User Lookup window is displayed.
- Select one or more users that you would like to add to the department.
- To transfer the users to the department, click on OK.
You have added one or more users to the department.
Assign Department to a Cue
This section describes how to assign a department to a cue.
To assign a department to a cue, proceed as follows:
- Open the search field (ALT+Q) and search for the page Beyond Cues.
- The Beyond Cues page is displayed.
- Click on the Cue Assignment option in the menu bar.
- The Cue Assignment page is displayed.
- Click on the Assign for Department option in the menu bar.
- The Filter Page window is displayed.
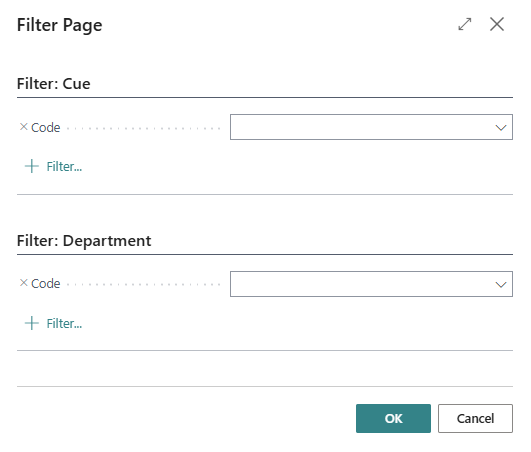
- Under the Filter: Cue area, enter the code of the cue for which you want to assign a department.
- Under the Filter: Department section, enter the code of the department you want to assign to the cue.
- To save the assignment of cue and department, click OK.
You have assigned the department to a cue.
Export Department
This section describes how to export a department.
To export a department, proceed as follows:
- Open the search field (ALT+Q) and search for the page Beyond Cues.
- The Beyond Cues page is displayed.
- Click on the Departments option in the menu bar.
- The Departments page is displayed.
- Click on Actions > Export Departments in the menu bar.
- An XML file is downloaded.
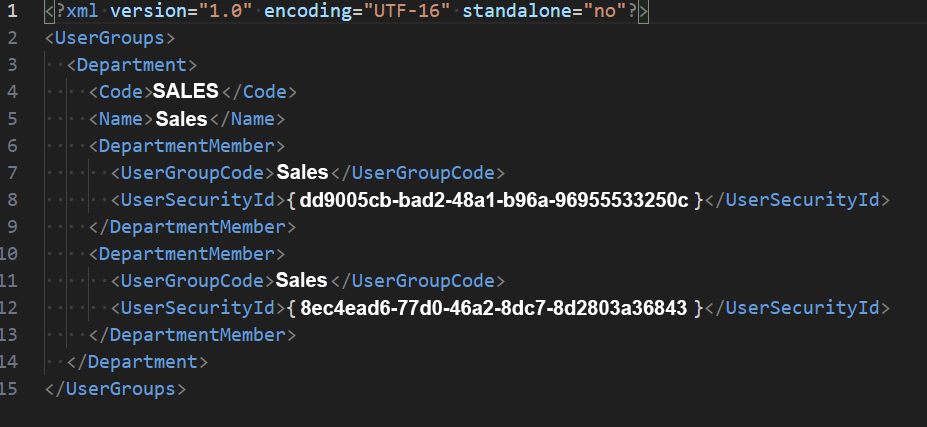
You can use the XML file to import departments and the users assigned to them.
Import Department
This section describes how you can import a department in another company.
To import a department, proceed as follows:
- Open the search field (ALT+Q) and search for the page Beyond Cues.
- The Beyond Cues page is displayed.
- Click on the Departments option in the menu bar.
- The Departments page is displayed.
- Click on Actions > Import Departments in the menu bar.
- The Import window is displayed.
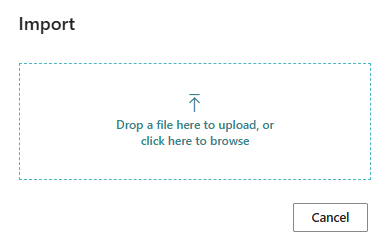
- Upload the XML file.
After uploading the XML file, a dialog box is displayed showing how many departments with the number of department members have been imported.
Copy Department
This section describes how you can copy a department.
To copy a department, proceed as follows:
- Open the search field (ALT+Q) and search for the page Beyond Cues.
- The Beyond Cues page is displayed.
- Click on the Departments option in the menu bar.
- The Departments page is displayed.
- Click on Actions > Copy department... in the menu bar.
- The Copy department dialog box is displayed.
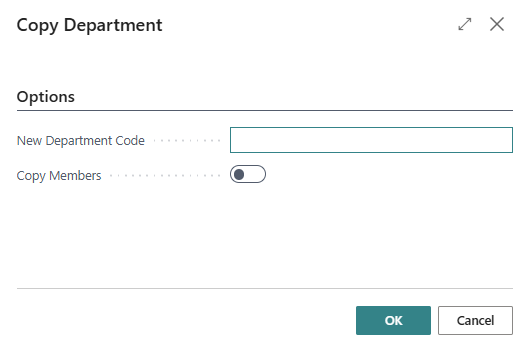
- Enter the code for the new department in the New Department Code input field.
- Activate the Copy Members slider if you want to copy the members.
- Click OK to copy the department.
You have copied the department.