Set Up Categories for Dropzone
This section describes how to set up categories for a Dropzone. Categories allow you to store files in a structured way and make it easier to search and find files in a record.
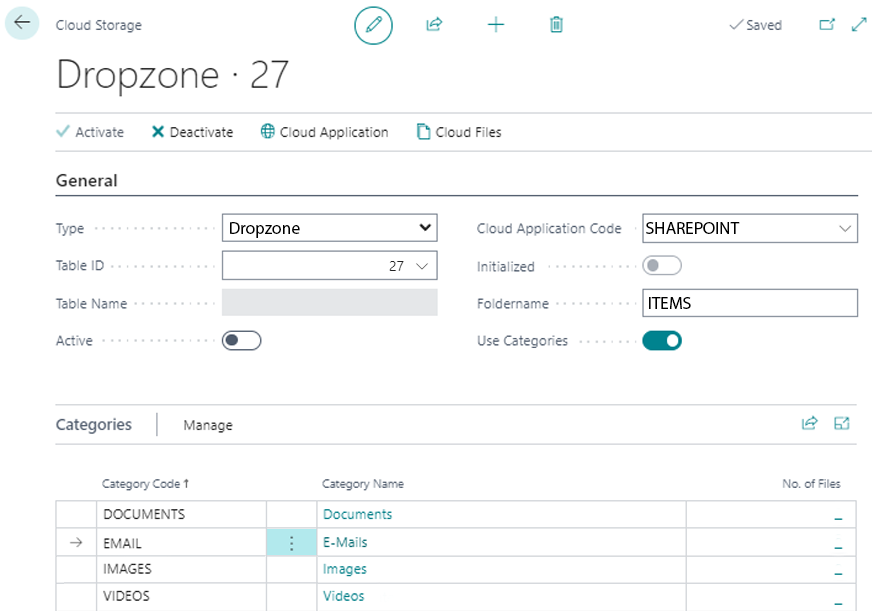
When setting up a Dropzone for a table, you have the option to enable the Use Categories option.
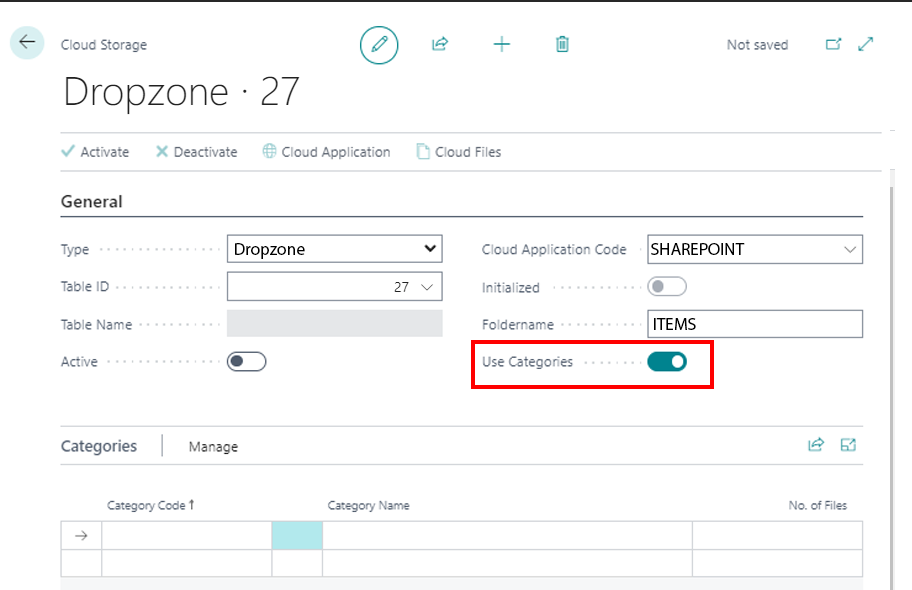
If the slider is activated, the Categories tab is displayed. Here you can create categories for the Dropzone.
To create categories for the Dropzone, proceed as follows:
- Open your Business Central.
- From the role center, open the search function (ALT+Q) 🔍.
- Search for Cloud Storages and click the appropriate search result. The Cloud Storages page is displayed.
- Select a cloud storage from the list and open the corresponding cloud storage card.
- Under the Categories tab, click in an empty row under the Category Code column.
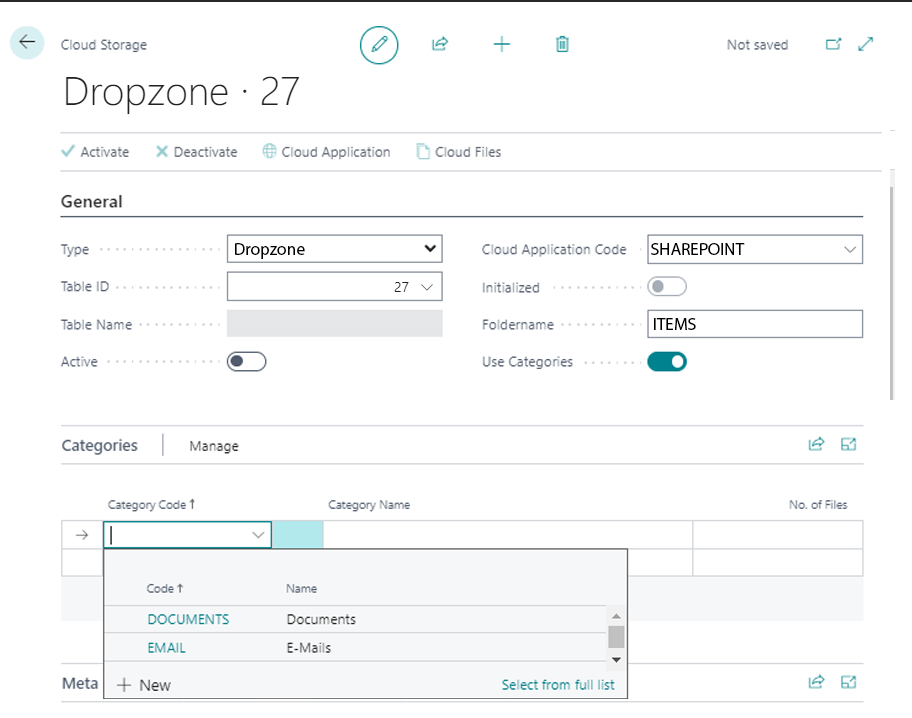
- Select New from the menu that is displayed.
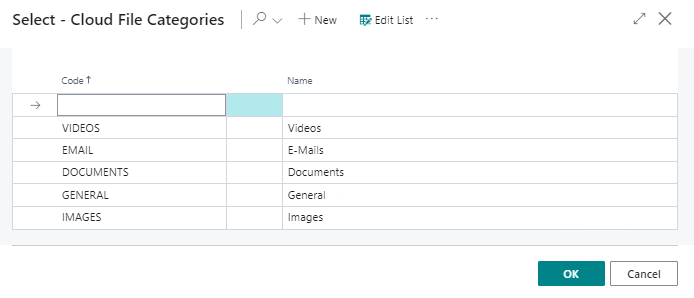
- The Select - Cloud File Categories window is displayed.
- Under the Code column, enter a code for the category. For example, you can use the IMAGES code to create a category for images.
- Enter the name for the category under the Name column. Repeat the previous step if you want to create more categories.
- Click OK to save the newly created category/categories.
- You will be redirected back to the cloud storage card.
- Under the Categories tab, specify the categories you created.
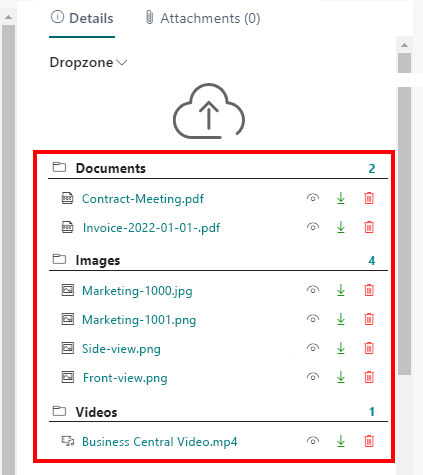
You have added one or more categories to this Dropzone. Note that the cloud storage (i.e. the Dropzone) is Active to be able to use the categories. When uploading files, you will now be asked which category the file corresponds to. For more information, see the Upload Files chapter.