Create Trade-In
This chapter describes how to create a trade-in.
To create a trade-in, proceed as follows:
- Open the search function from the role center (ALT+Q).
- Search for Trade-Ins and click on the appropriate search result.
- The Trade-Ins page is displayed.
- To create a new trade-in, click New in the menu bar.
- Under the General tab, specify a customer for the trade-in. The customer in this case is the business partner returning the items.
- Click Prepare > Get Posted Document Lines to Reverse… in the menu bar.
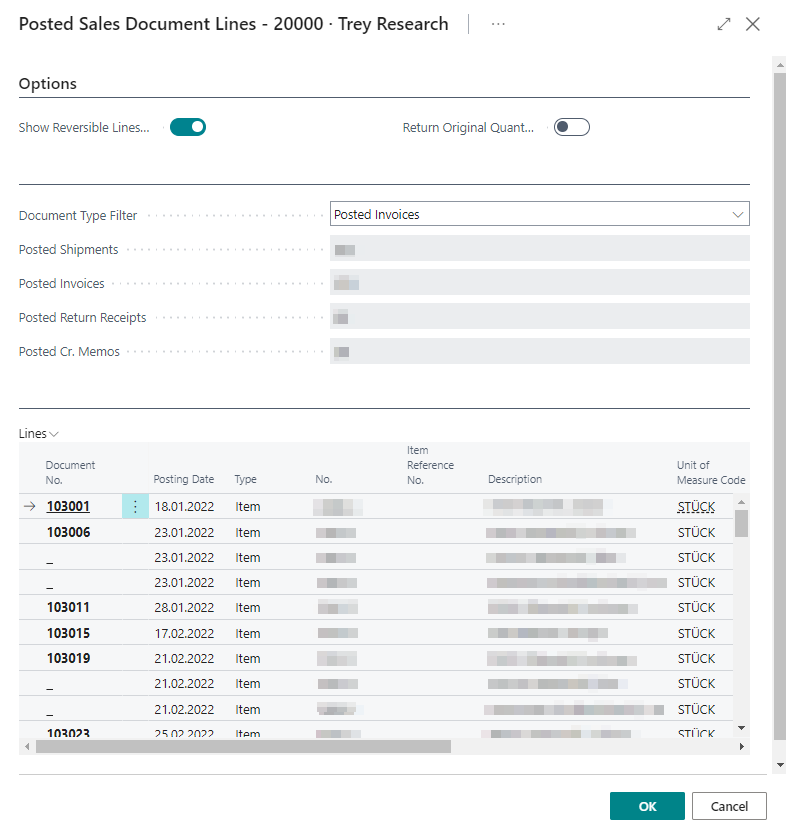
- The Posted Sales Document Lines window is displayed.

- In the Options tab you can select the following options:
- Show Reversible Lines Only: Specifies if only lines with quantities that are available to be reversed are shown. For example, on a posted sales invoice with an original quantity of 20, and 15 of the items have already been returned, the quantity that is available to be reversed on the posted sales invoice is 5.
- Show Reversible Lines Only: Specifies whether to use the original quantity to receive quantities associated with specific shipments. For example, on a posted sales invoice with an original quantity of 20, you can match the 20 items with a specific shipment.
- In the dropdown menu for the Document Type Filter field, you can select the type of document for which you want to display the lines in the Lines tab. The number of documents is displayed below that dropdown menu.
- To transfer a document line from the Lines tab to the trade-in, click on the digit under the Document No. column.
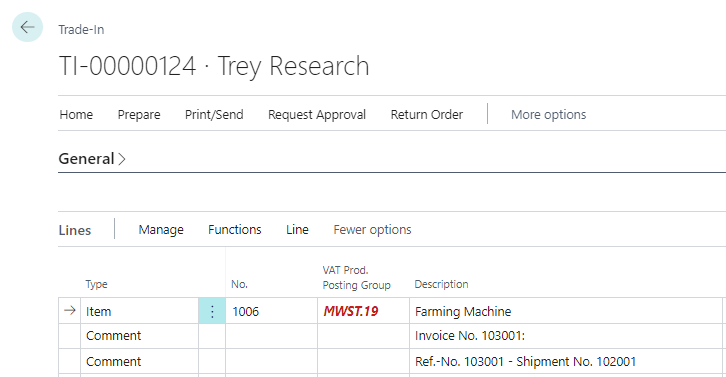
- The document line will be transferred to the trade-in. In addition to this, lines of the type Comment are generated, which contain important information about the invoice number as well as delivery number.

You have created a trade-in.
To book the trade-in, click Home > Post in the menu bar as usual.