Setup Wizard
This chapter explains how to set up Beyond Reports for the first time. Beyond Reports includes a setup wizard to help you set up the reports.
Note
General Setup
The setup wizard is used for the first time setup of reports with Beyond Reports. If you use the setup wizard again at a later time and complete the setup with new values, all set reports will be overwritten with the new print settings you defined.
To set up Beyond Reports for the first time, proceed as follows:
Open your Business Central.
From the Role Center, open the search (ALT+Q) 🔍.
Search for the Beyond Reports Setup page and click on the corresponding search result.
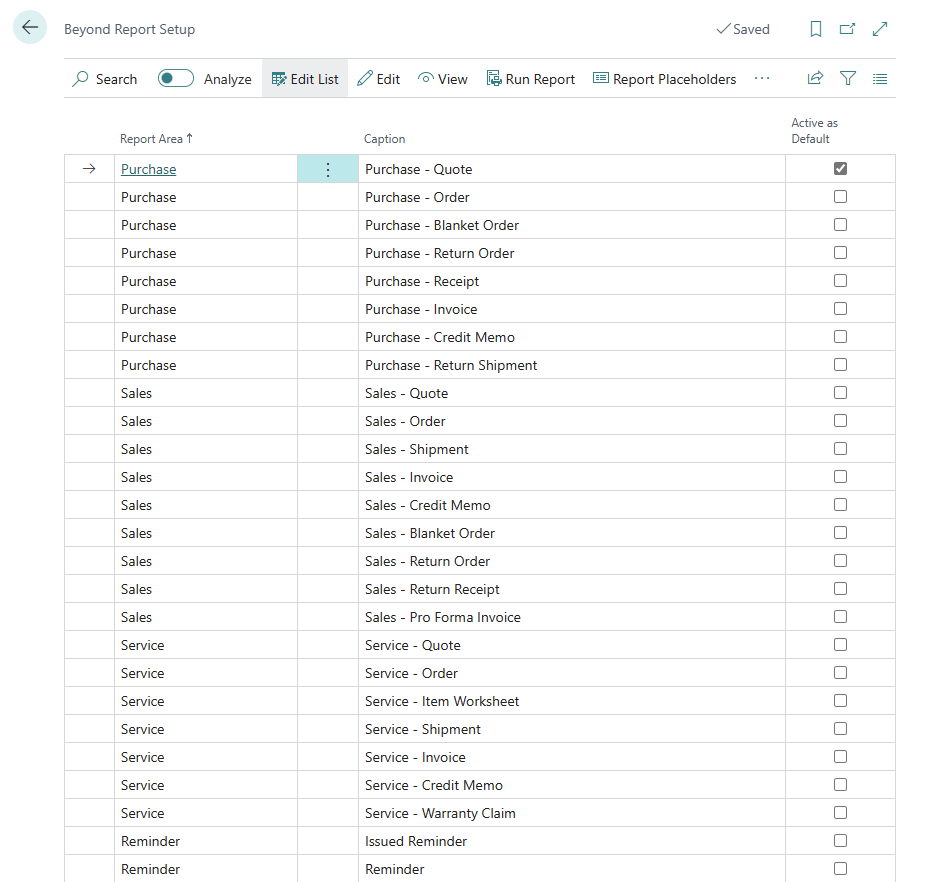
To open the setup wizard for Beyond Reports, click Reports Setup Wizard in the menu bar.
The Reports Setup Wizard is displayed.
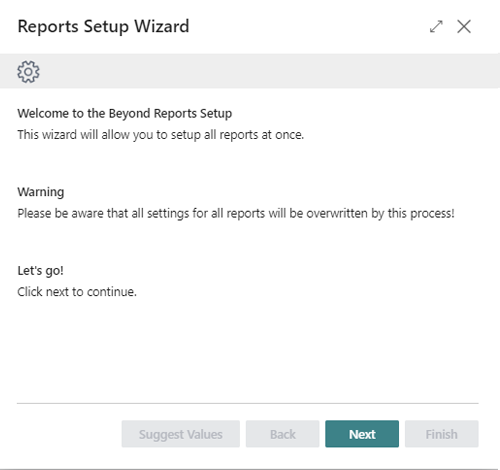
To start the basic settings and design of your report, click Next.
In the next step you can upload pictures for the headers, footers and background (watermark) of your reports.
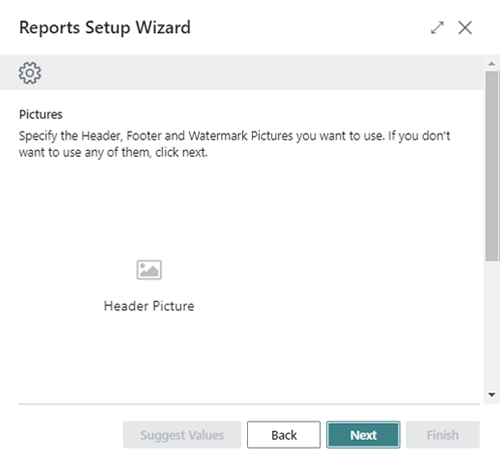
To upload a picture, click on the corresponding icon and specify the path to the picture. We recommend using the following dimensions and specifications for the pictures:
Header Picture – 2480×531 px, PNG file with transparent background
Footer Picture – 2480×531 px, PNG file with transparent background
Watermark – 800×800 px, JPEG or PNG file (only grayscale)
The uploaded pictures can be edited and customized later. To proceed to the next step, click Next. In this step of the Report Setup Wizard, you set the print settings for the report.
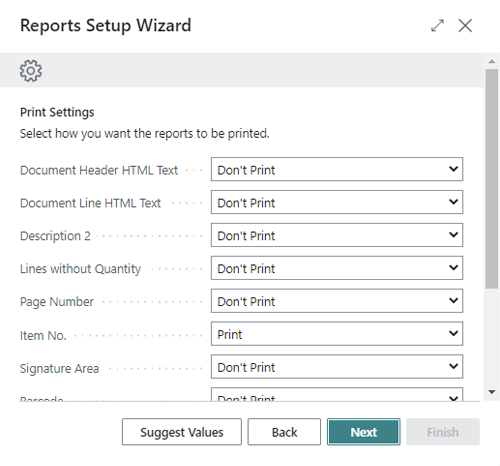
To automatically apply a default setup for the print settings, click the Suggest Values option.
The following options are available for manual and individual report print settings:
Option Description Document Header HTML Text Don't Print: Select this option if you don't want to print HTML texts in the report header.
Print: Select this option if you want to print HTML texts in the report header.Document Line HTML Text Don't Print: Select this option if you don't want to print HTML texts for lines.
Print: Select this option if you want to print HTML texts for lines.Description 2 Don't Print: Select this option if you don't want to print the value of the **Description 2** header field in the reports.
Print: Select this option if you want to print the value of the **Description 2** header field in the reports.
Print as new Line: Select this option if you want to print the value of the **Description 2** header field in the reports in a new line.Lines without Quantity Don't Print: Select this option if you want to not print lines with the quantity **0** in the reports.
Print: Select this option if you want to print lines in reports which have a value of **0** for the **Quantity** field.
Option Description Page Number Don't Print: Select this option if you don't want to print page numbers in reports.
Print Top: Select this option if you want to print page numbers at the top of the reports.
Print Bottom: Select this option if you want to print page number at the bottom of the reports.Item No. Print: Select this option if you want to print item numbers (of your ERP system) in the reports.
Print Vendor Item No.: Select this option if you want to print the item numbers of the vendor in your reports.Signature Area Don't Print: Select this option if you don't want to print a signature area in the reports.
Print: Select this option if you want to print two signature areas in the report (for both your employee and the vendor/customer).
Print Customer / Vendor: Select this option if you want to print a signature area (only for the Customer/ Vendor) in the report.
Print Employee: Select this option if you want to print a signature area (for the employee) in the report.Barcode Don't Print: Select this option if you don't want to print a barcode in the reports.
Print: Select this option if you want to print a barcode in the reports. The document number will be encripted in the barcode.Position No. Don't Print: Select this option if you don't want to print a position number in the reports.
Print: Select this option if you want to print a position number in the reports.Increase Position No. This option is used to define the increment of the position number. The value is set to 1 by default. Font This option allows you to define the default font used in reports. The value is set to Arial bby default. Font Size This option allows you to define the font size used in the reports. The value is set to 8 by default. Click Next to save the print settings. In the next step you can define individual captions for your reports.
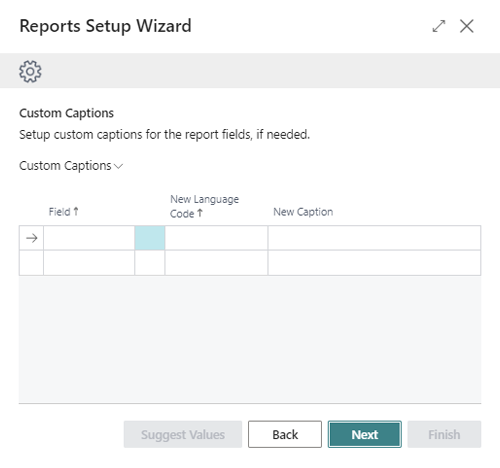
To set up a custom field caption for your reports, expand the dropdown list under the Field column. For example, you can use this function to change the field caption for the Salesperson/Purchaser field to Employee.
Select the corresponding field caption from the Field column dropdown list and add the language in the New Language Code column. Enter the new caption to be used in your reports in the New Caption field.
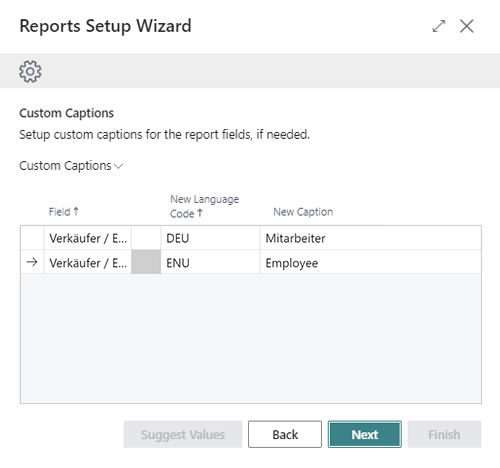
To proceed to the next step, click Next. In this step you can define a general setting for displaying additional information and its placement in your reports.
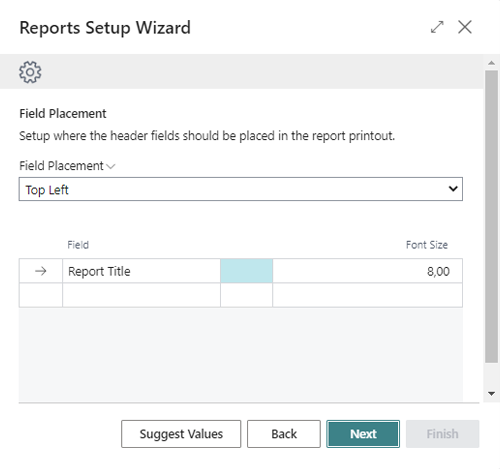
For your reports, you can display or print additional fields and their values in 3 areas. Select the area from the Field Placement dropdown list and specify which field should be displayed. If you prefer a setup with a default setting, you can also click the Suggest Values button.
To proceed to the next step, click Next.
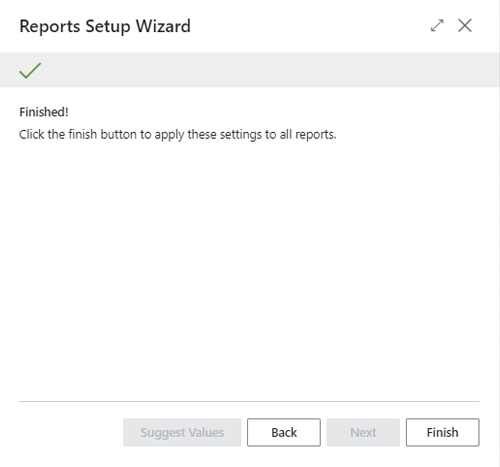
To complete the setup of Beyond Reports, click Finish.
When you complete the setup wizard, you set up all reports at once. For example, if you want to make an individual change in a report (for example, change the field caption only for a specific report) you must set up this print setting on the report card.
See the Configure Reports section for more information about what print settings are available and what effect they have on a report.