Import Beyond Catalog Items
This chapter describes how to import an item master as Beyond Catalog Items from a file (for example, a price list). Note that this data must be available as an Excel file. Each row in the Excel table must represent a single item, while the properties to be imported and stored as columns.
To import items from this list as cross-client Beyond Catalog Items, follow these steps:
- Open the search function from the role center (ALT+Q).
- Search for Data Import Templates and click on the corresponding search result.
- The Data Import Templates list is displayed. On this page you can find all configured data import templates.
- To create a new data import template, click New in the menu bar.

- Enter a number for the data import template under the No. column.
- Enter a name for the data import template under the Name column.
- Specify a processor under the Processor column. A so-called processor processes the uploaded file (this is done later in this description) and imports the data into your Business Central. In this description we have used the Beyond Catalog Item processor because we want to perform an import for Beyond Catalog Items (cross-client nonstock items). If you need a processor that is not included in the scope of the application by default, we can create it for you individually. To do so, contact us at info@beyondit.gmbh.
- Click Importer in the menu bar. A new window will open.

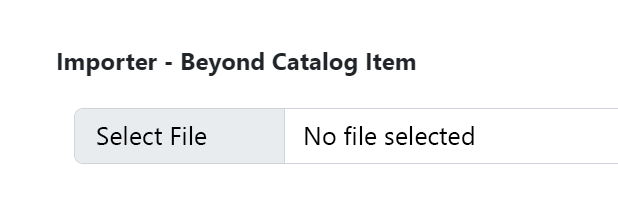
- Click Select File and select the file in which the data you want to upload is stored.

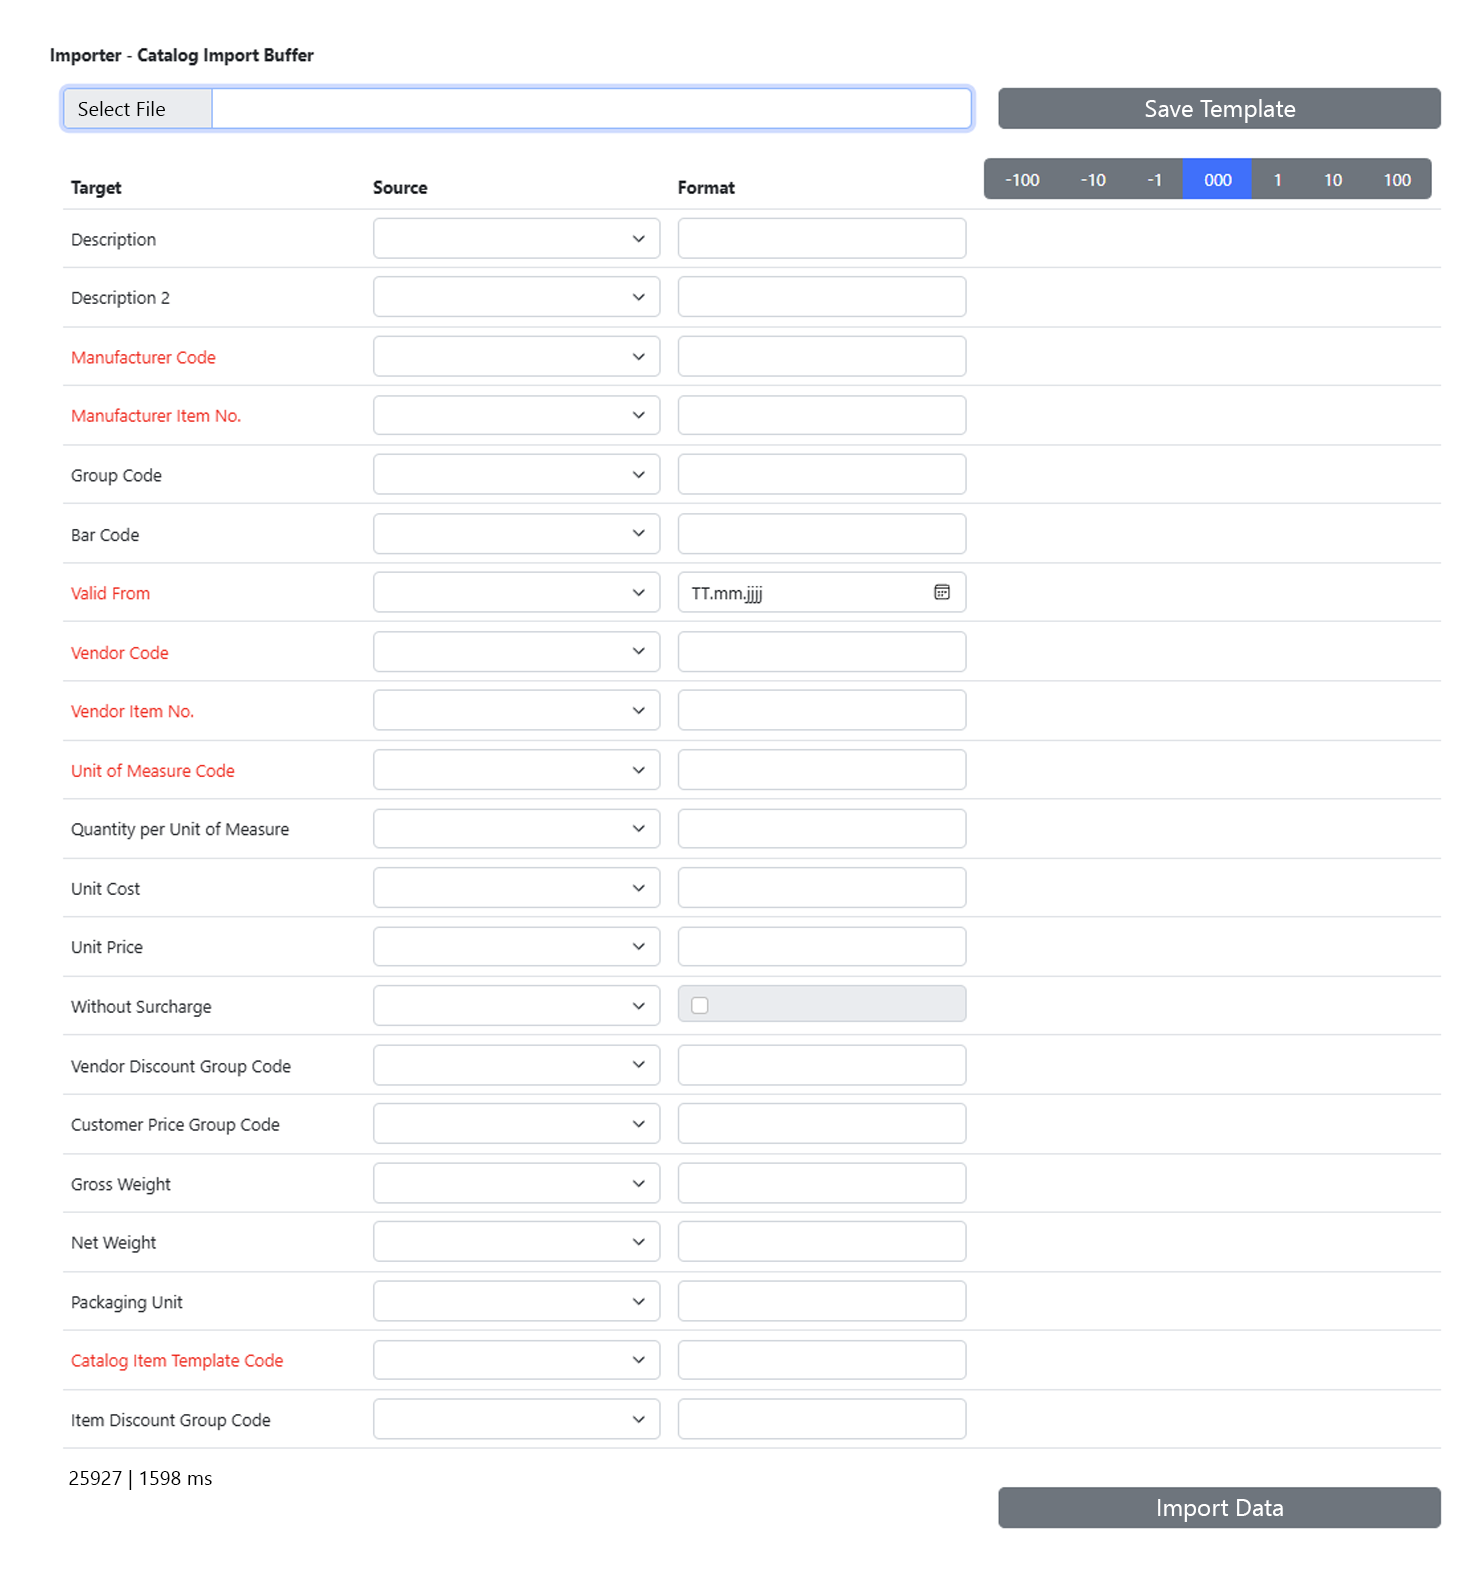
- The display of the window is updated after the file is uploaded. Subsequently, you need to map the data from the uploaded file to the fields in Business Central so that the data can be imported. In the following example, we explain how to do this.
- The fields highlighted in color are mandatory fields, i.e. you must specify a value for these lines.
- You can check the assignments via the data set preview. The read out data is displayed in the third column (right column). Using the number bar above this column, you can jump between the rows in the uploaded file and compare the data.
- To save your settings and the mappings, click Save Template.
- To start the import, click Import data.
If values from the records to be imported are not already stored in the system (for example, a vendor discount group), you must create a relation. The following window will be displayed:

- Click on the row where the check box under the Relation is valid column is not selected.
- Click on the ellipse of the line and select Create Related Value from the context menu.
- Create the relation for the record. In our example, the Vendor Discount Groups window is displayed.

- In the Vendor No. column, specify the vendor for which you want to store the vendor discount group.
- In the Discount % column, enter the percentage discount for the items subject to this discount group.
- After specifying the percentage discount, you will be asked if you want to update the related records. Click Yes.
- Close the window. You will be returned to the Field Values page.
- Click OK to start the import.

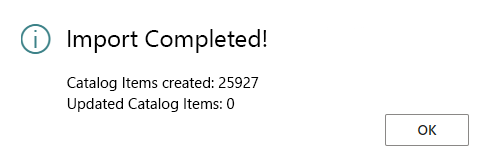
Your settings and assignments are saved in the file import template. The number of rows (records) to be imported is displayed at the bottom left (in our example it is 25927 records). A process bar shows you the progress. All items imported in this way are created as Beyond catalog items and can be viewed via the page of the same name.