Setup Watermark Image
This chapter describes how you can set up an image (watermark image) for your reports. Please note that the image should ideally have the following dimensions:
| Length | Width | Format | |
|---|---|---|---|
| Watermark Image: | 800 px | 800 px | JPEG (Grey scale) |

In the example image, the transparent areas are checked with gray and white tiles. These areas are not printed.
To set up your watermark image for the reports, proceed as follows:
- Open the search function from the role center (ALT+Q).
- Search for Report Setups and click on the corresponding search result.
- The Report Setups page is displayed.
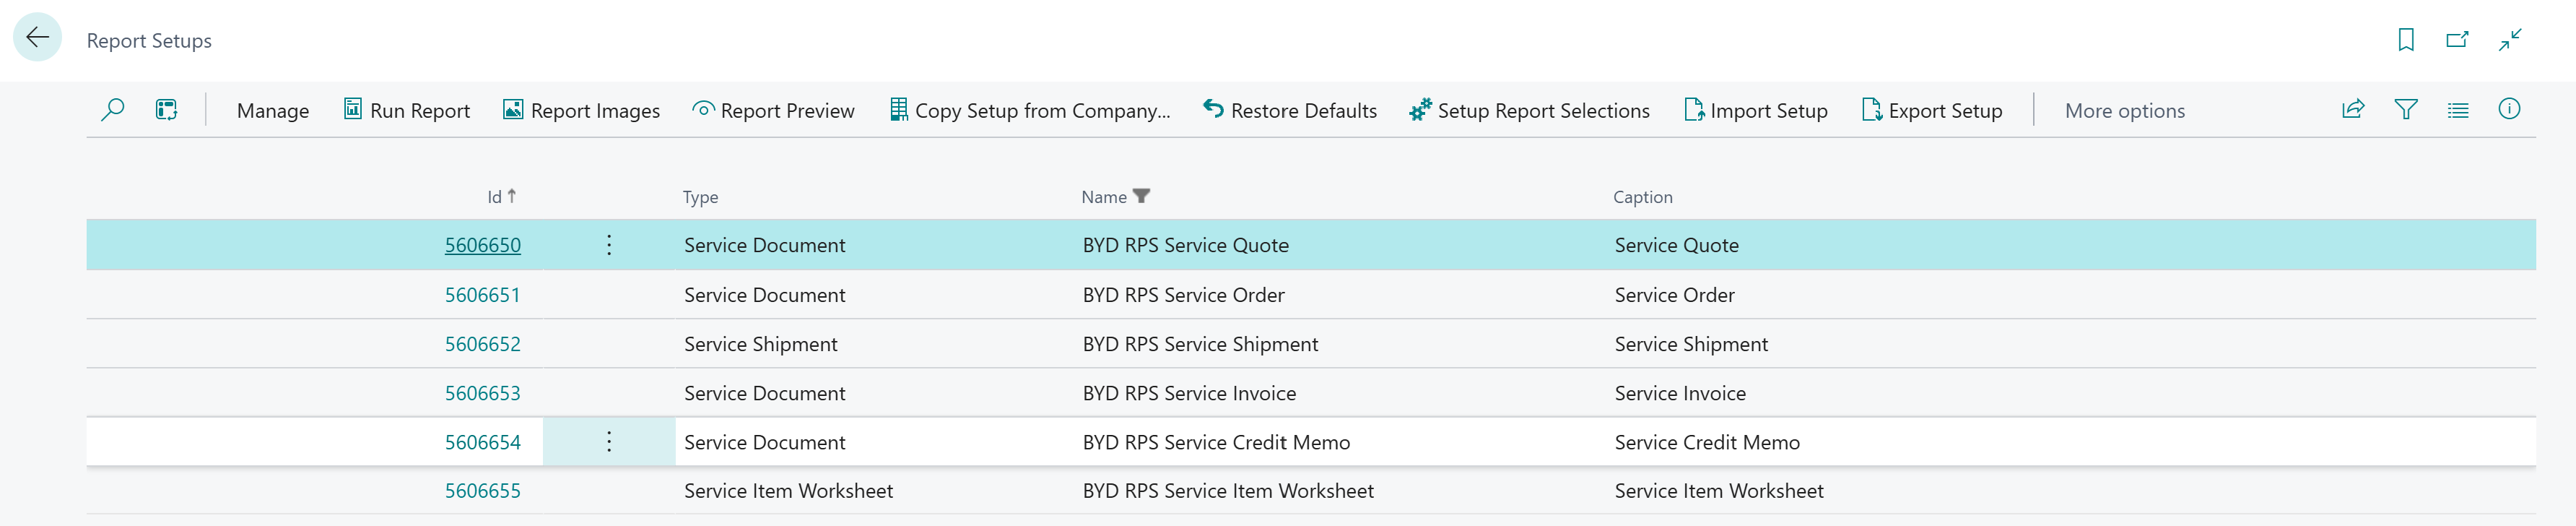
- Click on the Report Images option in the menu bar.
- The Report Images page is displayed.
- Enter a code for the new data record in the Code column on the left-hand side of the screen. If you have already uploaded a Header Image or a Footer Image, select the created data set to upload the watermark image to this data set.
- Move the cursor to the icon for the watermark image on the righthand side of the screen.

- Click on the icon for uploading the watermark image.
- Enter the path for uploading the image.
You have set up the watermark image.