Setup Header Image
This chapter describes how you can set up a header image for your reports. Please note that the header image should ideally have the following dimensions:
| Length | Width | Format | |
|---|---|---|---|
| Header Image: | 2480 px | 531 px | PNG |
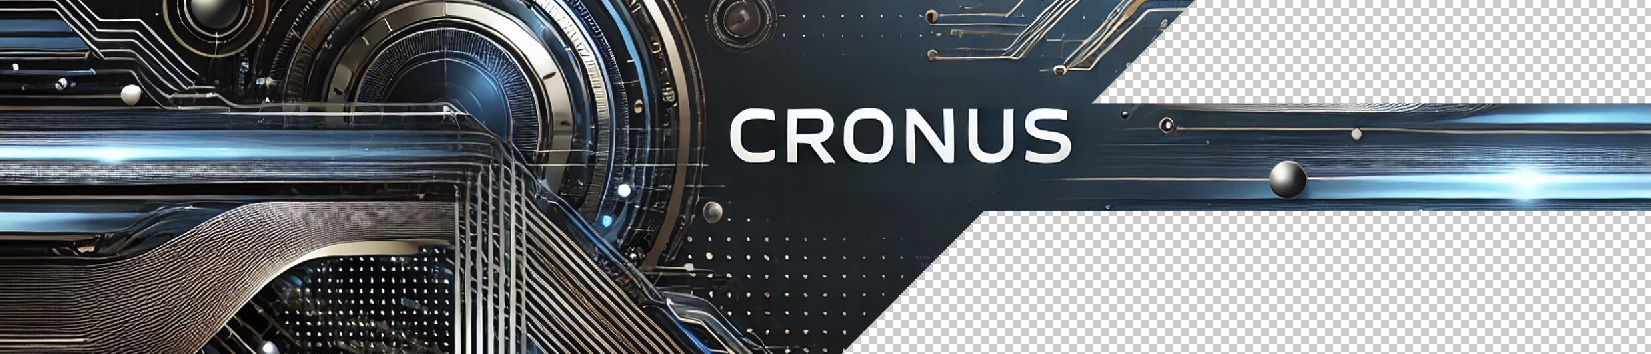
In the example header image, the transparent areas are checked with gray and white tiles. These areas are not printed.
To set up your header iamge for the reports, proceed as follows:
- Open the search function from the role center (ALT+Q).
- Search for Report Setups and click on the corresponding search result.
- The Report Setups page is displayed.
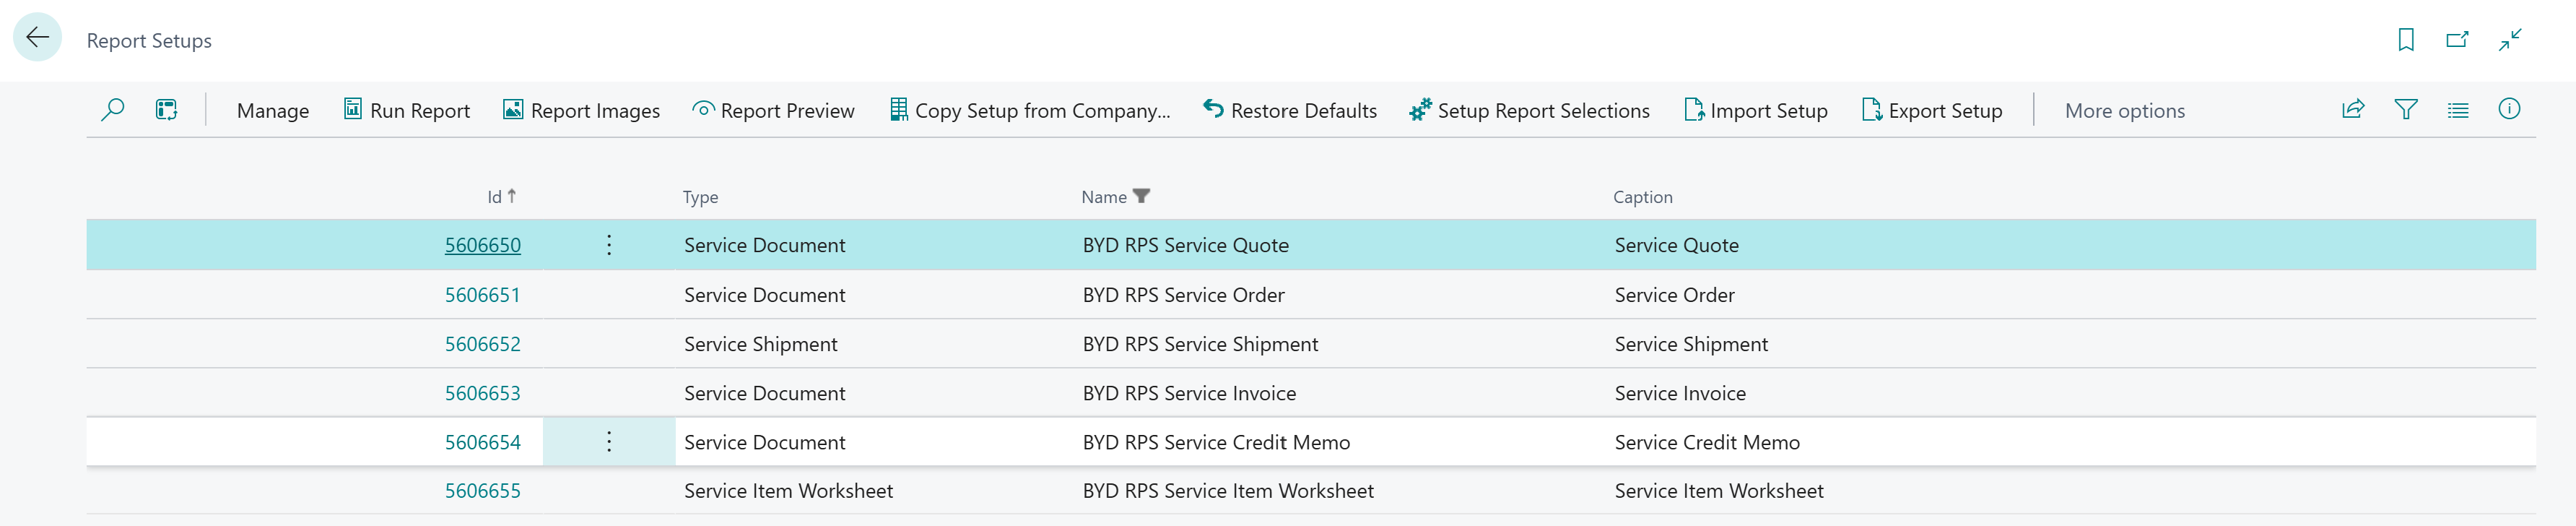
- Click on the Report Images option in the menu bar.
- The Report Images page is displayed.
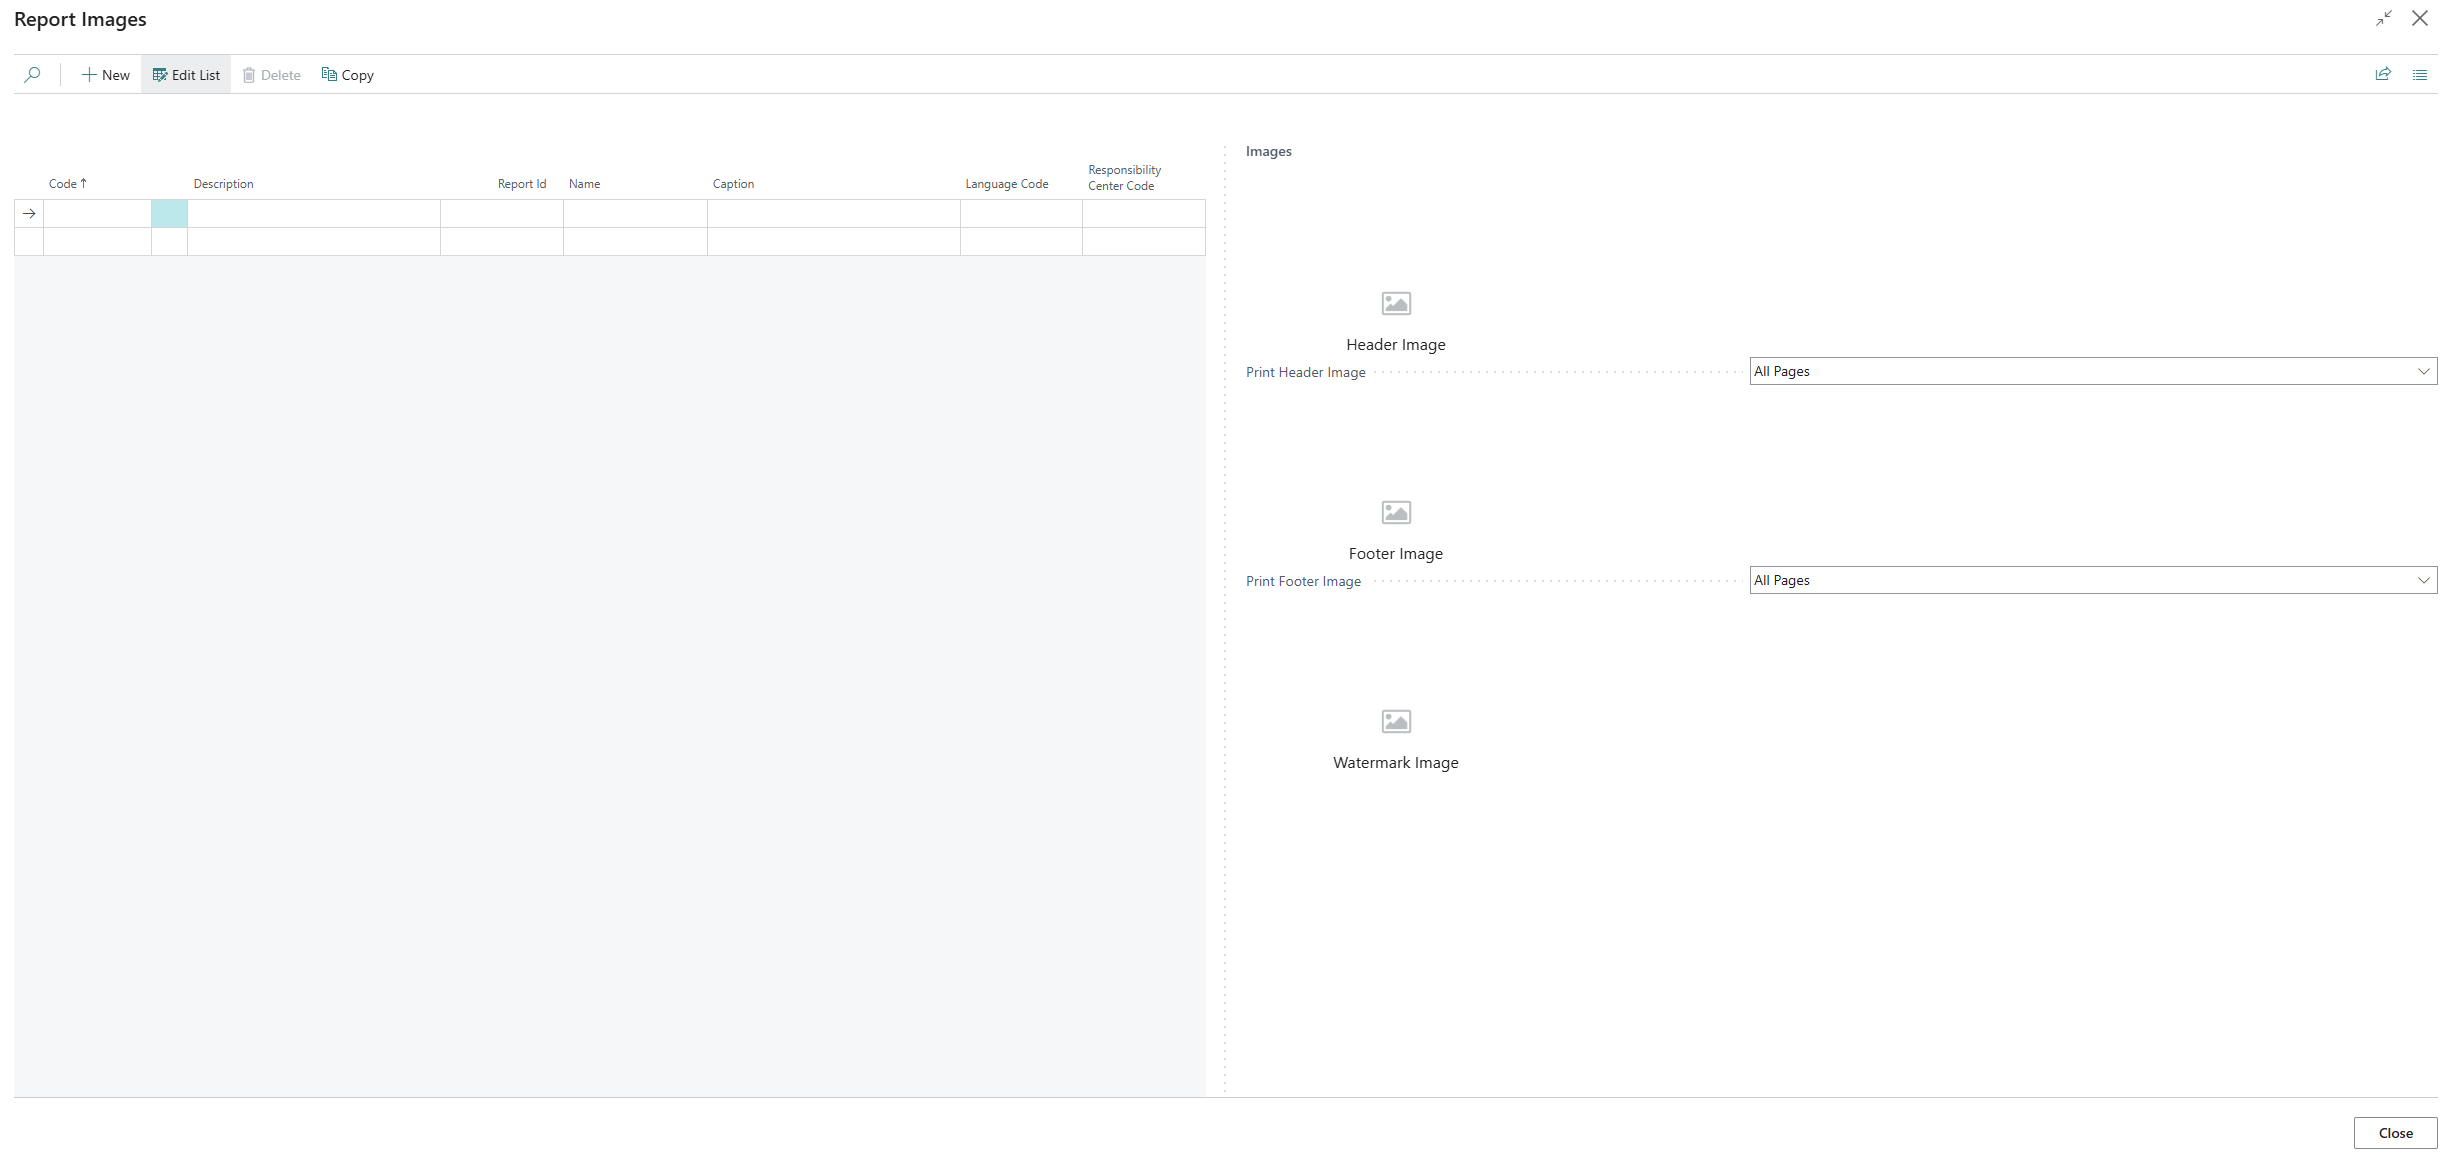
- Enter a code for the new data record in the Code column on the left-hand side of the screen or select an existing data record.
- Enter a description for the data record in the Description column. If you want to set up other images for a specific report, you can enter the ID of the corresponding report under the Report ID column. If no report ID is specified, the uploaded images will be used for all reports.
- The values of the Name and Caption fields are updated.
- Under the Language Code column, enter the code for the language that is used in the report and for which the images are set up.
- Under the Responsibility Center Code column, enter the code of the responsibility center for which the report with the images is used.
- Move the cursor to the icon for the header image on the right-hand side of the screen.
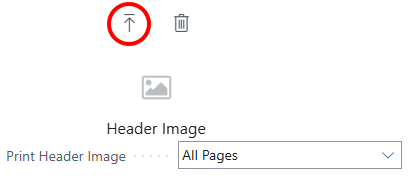
- Click on the icon to upload the header image.
- Enter the path for uploading the header image.
- After uploading the header image, further options are available in the menu for the header image.
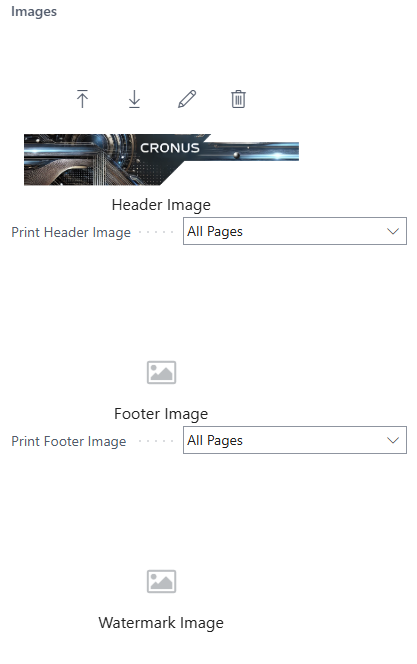
- You have uploaded the header image. If you want to change the size of the image, click on the pencil icon.
- The Image Cropper page is displayed.
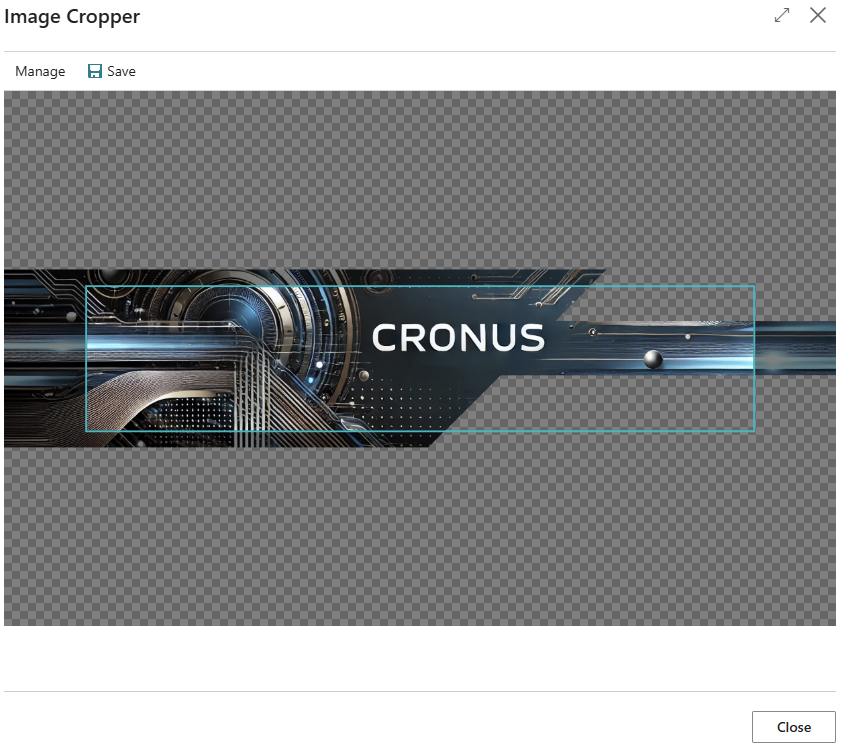
- To scale the header image to the desired size, scroll with the mouse wheel.
- To move the header image sideways, click on the header image with the left mouse button and hold the mouse button down. Then move the header image into the frame.
- Click on Save in the menu bar. The header image is saved.
- On the Report Images page, you have the following options for setting the header image in the dropdown list below the header image:
- All Pages: The header image is printed on all pages of the report.
- First Page: The header image is only printed on the first page of the report.
- Last Page: The header image is only printed on the last page of the report.
You have set up the header image.